Easy25 min / Ages 5+
Ghost Halloween Gift Bag
Decorate an upright paper gift bag with a round white ghost, pink cheeks and a handwritten tag. Easy paper bag Halloween crafts using plain coloured paper.
English PDF · 10 pages$1.09
 Paper Craft GuidesPaper crafts, step by step.
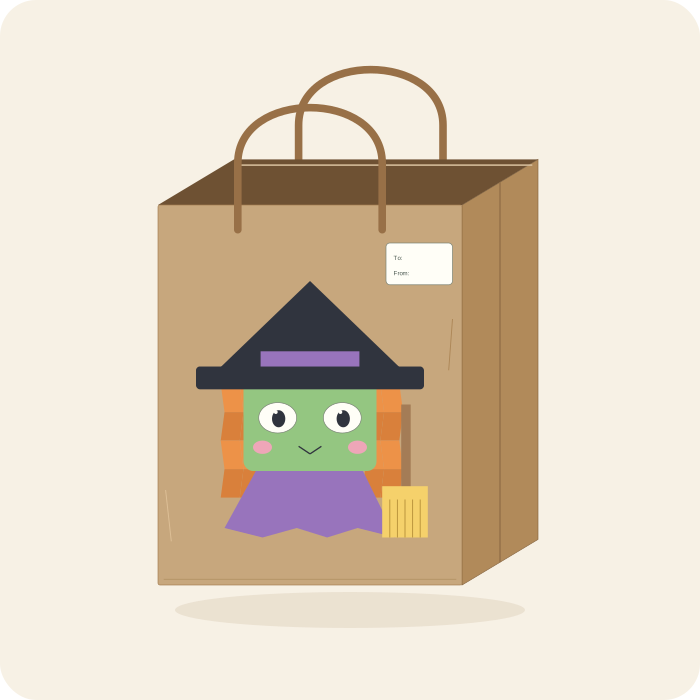
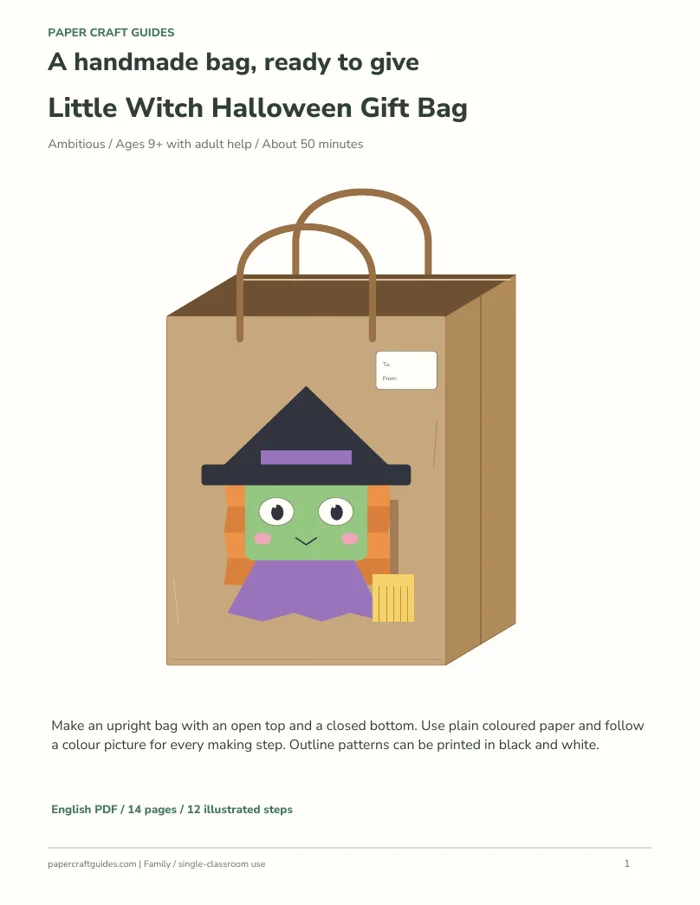
Layer a little green-faced witch, accordion-fold orange hair and a paper broom on an upright Halloween gift bag.
50 minutes · Ages 9+ with adult help · 14 pages · 12 steps
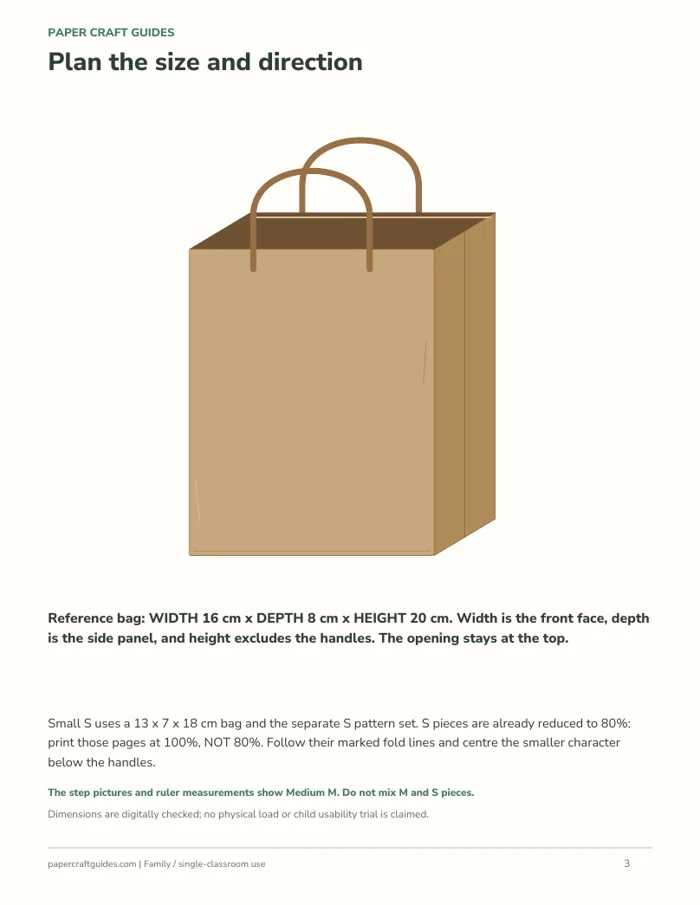
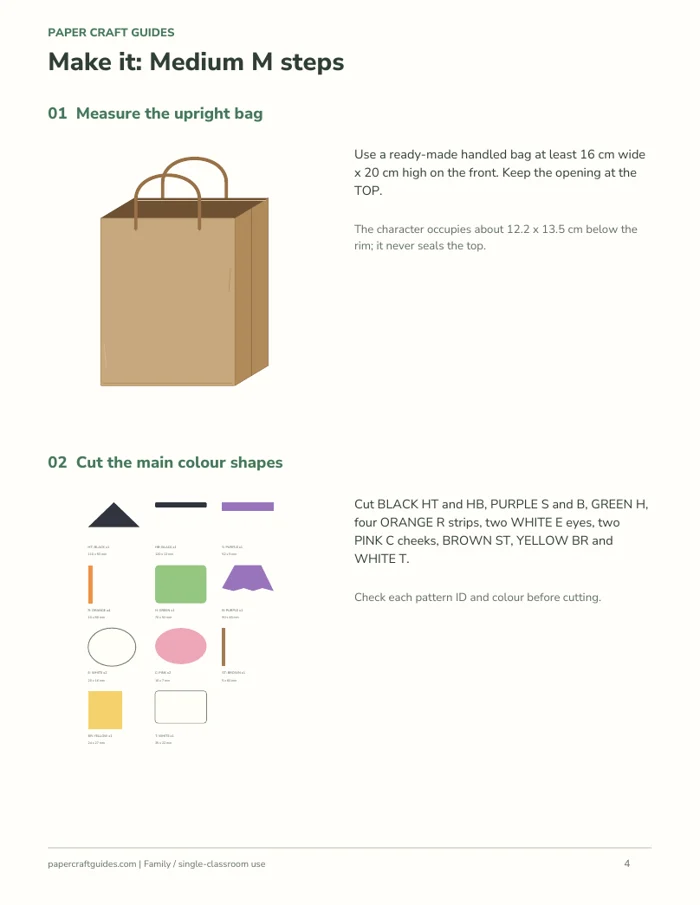
Layer a little green-faced witch, accordion-fold orange hair and a paper broom on an upright Halloween gift bag. Use a ready-made handled bag with at least a 16 x 20 cm front. The reference bag is 8 cm deep. The decoration does not cover the open top or handles. The diagrams are in colour, but outline patterns can be printed in black and white. Separate Small S patterns also fit a 13 x 7 x 18 cm bag. Step measurements show M; S pages are already resized and are printed at 100%.
Preview shop. No payment is collected by this demonstration.
Layer a little green-faced witch, accordion-fold orange hair and a paper broom on an upright Halloween gift bag. Use a ready-made handled bag with at least a 16 x 20 cm front. The reference bag is 8 cm deep. The decoration does not cover the open top or handles. The diagrams are in colour, but outline patterns can be printed in black and white. Separate Small S patterns also fit a 13 x 7 x 18 cm bag. Step measurements show M; S pages are already resized and are printed at 100%.
Explore three Halloween gift bags and a bag-from-scratch guide →
The English PDF includes a colour picture for every making step, measurements and full-size cutting patterns.
Yes. The opening stays at the TOP and the bottom stays closed. This is a gift bag, not a hand puppet.
Yes. Choose Medium M: 16 cm wide x 8 cm deep x 20 cm high, or Small S: 13 x 7 x 18 cm. Use the matching pattern set. Both sets print at 100%; S is already resized.
No. Follow the colour diagrams on screen and trace the black-and-white patterns onto the named plain paper colours.
Decorations do not strengthen the bought bag. Follow its original load limit and use its original handles.
Decorate an upright paper gift bag with a round white ghost, pink cheeks and a handwritten tag. Easy paper bag Halloween crafts using plain coloured paper.
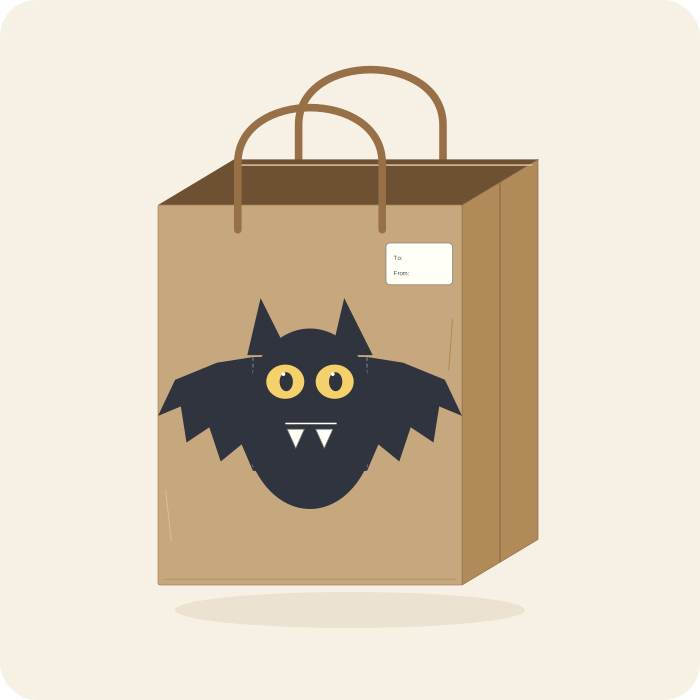
Make a Halloween treat bag with a friendly black bat and folded paper wings. Its opening and original handles stay at the top.
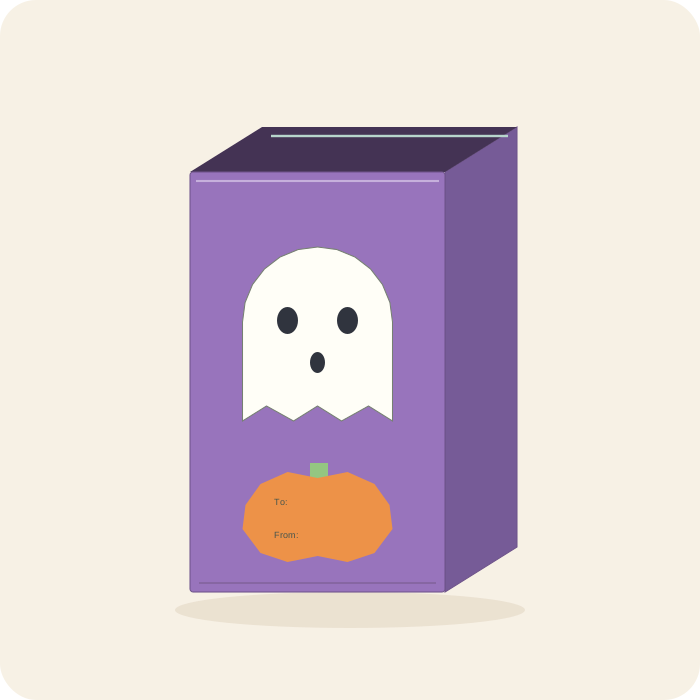
Fold an upright, open-top purple Halloween treat bag from one sheet of paper. Add a white ghost with a hand-drawn black face and an orange pumpkin gift tag. Includes measured cut-fold-glue instructions.