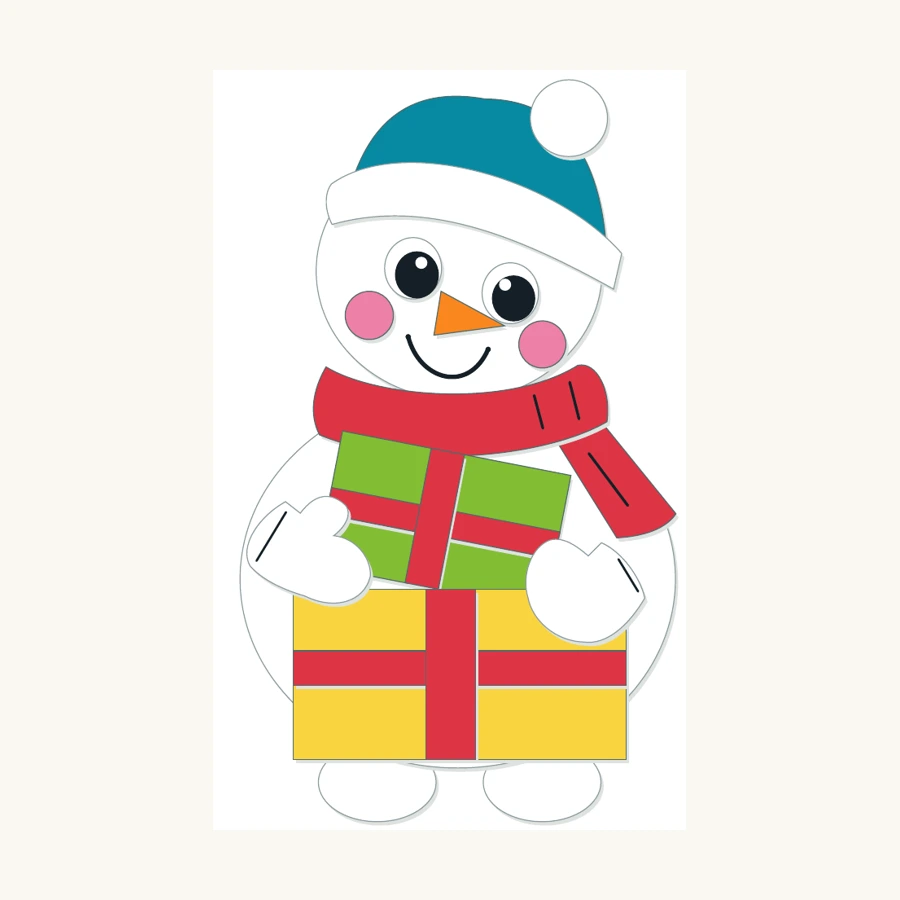
Medium35 min / Ages 6+
Snowman Paper Craft for Kids
Make a layered paper snowman with a teal hat, red scarf and two presents. English PDF with 18 colour-illustrated steps and full-size cutting templates.
English PDF · 15 pages$1.59
 Paper Craft GuidesPaper crafts, step by step.
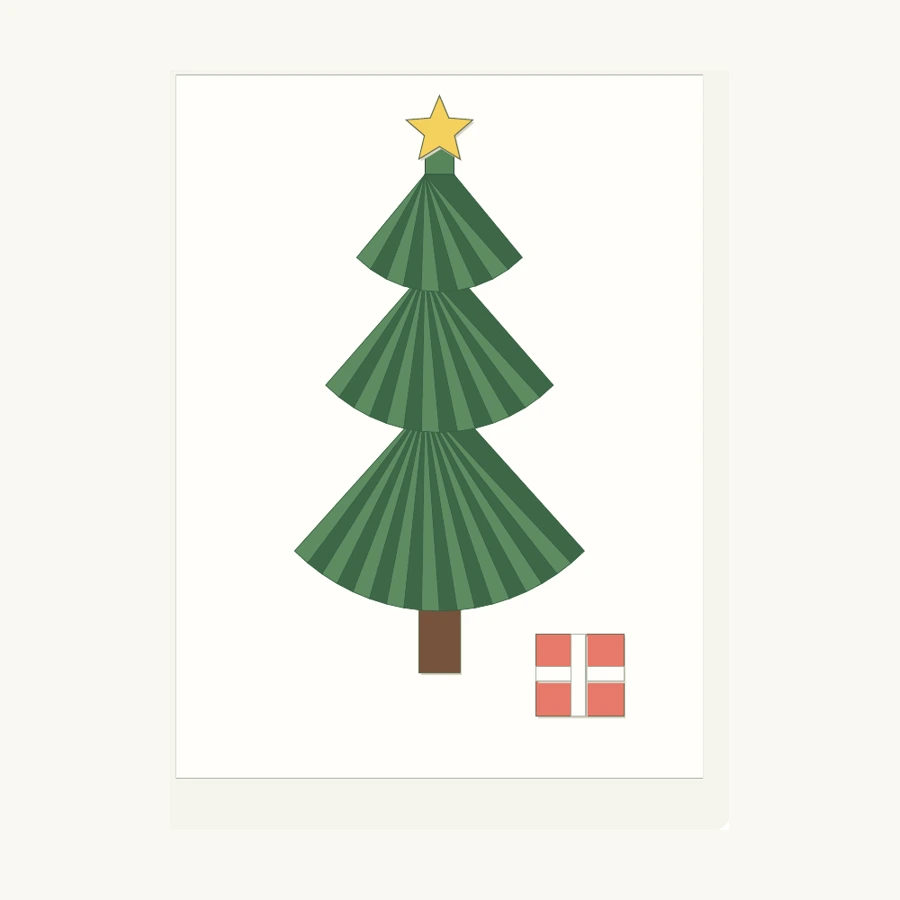
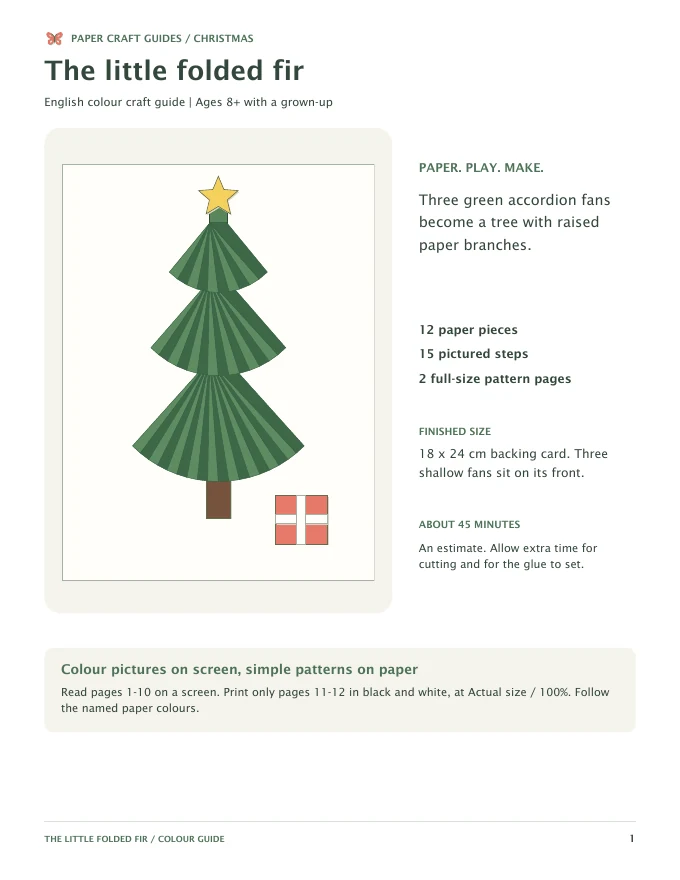
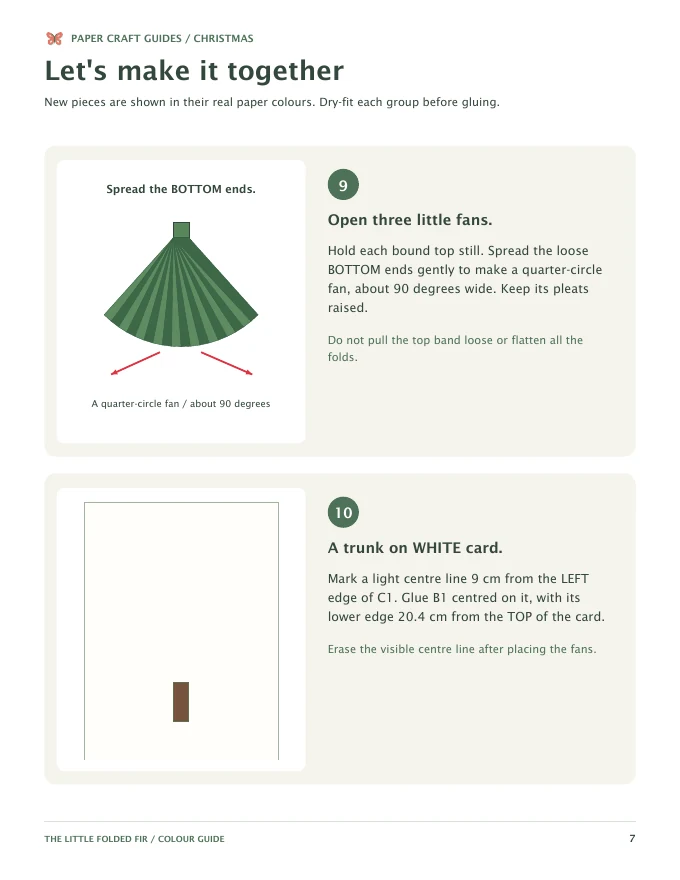
Make a raised paper Christmas tree from three green accordion fans. A 12-page English PDF with 15 colour steps, 1 cm fold guides and printable patterns.
45 minutes · Ages 8+ with adult help · 12 pages · 15 steps
Fold three green rectangles into accordion fans, bind their tops and layer them on an 18 x 24 cm white backing. The raised pleats make the Christmas tree branches. Add a yellow star and a coral gift. The guide uses 12 paper pieces and 15 pictured steps. Suggested ages 8+ with adult help; allow about 45 minutes plus drying.
Preview shop. No payment is collected by this demonstration.
Fold three green rectangles into accordion fans, bind their tops and layer them on an 18 x 24 cm white backing. The raised pleats make the Christmas tree branches. Add a yellow star and a coral gift. The guide uses 12 paper pieces and 15 pictured steps. Suggested ages 8+ with adult help; allow about 45 minutes plus drying.
Explore Christmas paper craftsThese are the main making stages. The complete English PDF has 15 individually illustrated steps and the project patterns.
Measure an 18 x 24 cm white backing with a ruler. Cut green rectangles measuring 18 x 8 cm, 14 x 6.5 cm and 10 x 5 cm, plus three green binding bands measuring 4 x 1 cm.
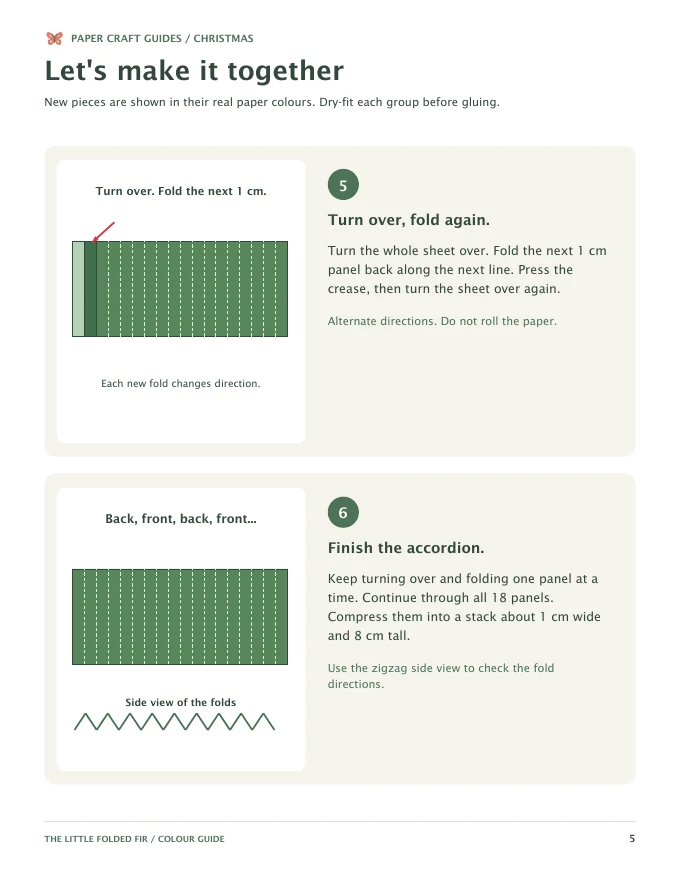
Mark every 1 cm across each rectangle. Fold the first left-hand panel away, turn the sheet over and fold the next panel back. Keep alternating, rather than rolling the paper. Check for 18, 14 and 10 panels.
Pinch the upper 1 cm of each folded stack. Wrap one green band around it and glue the band ends together. Once set, hold the bound top and gently spread the loose bottom into a fan about 90 degrees wide.
Centre the brown trunk on the card. Place the largest fan lowest, then the middle fan, then the smallest. Their bound tops sit 10.3, 5.7 and 2.4 cm from the top of the backing. Glue only the outer back panels, leaving the middle pleats raised.
Centre the yellow star above the smallest fan, covering its bound neck. Add the coral gift near the lower right, then its white horizontal and vertical ribbons. Let the joins set before lifting the card.


No. It is an accordion-fold and glue project on a backing card. The guide includes cutting, three binding bands and the placement of three raised fans.
Use thin green paper around 80-100 gsm. The three rectangles are 18 x 8 cm, 14 x 6.5 cm and 10 x 5 cm, with folds every 1 cm.
Bind the top of each accordion stack, then spread the bottom gently. Glue only the two outside back panels to the card, leaving the middle pleats raised.
No. Read the colour instructions on screen and print only pattern pages 11-12 in black and white at Actual size / 100%. Measure the white backing with a ruler.
Suggested ages 8+ with adult help. It is the more challenging project in this Christmas collection, with repeated folds, small star points and glue drying time.
Written guide and illustrations: Paper Craft Guides. Updated 9 November 2026. Images are tutorial illustrations; review the sample pages when choosing a project.
Make a layered paper snowman with a teal hat, red scarf and two presents. English PDF with 18 colour-illustrated steps and full-size cutting templates.
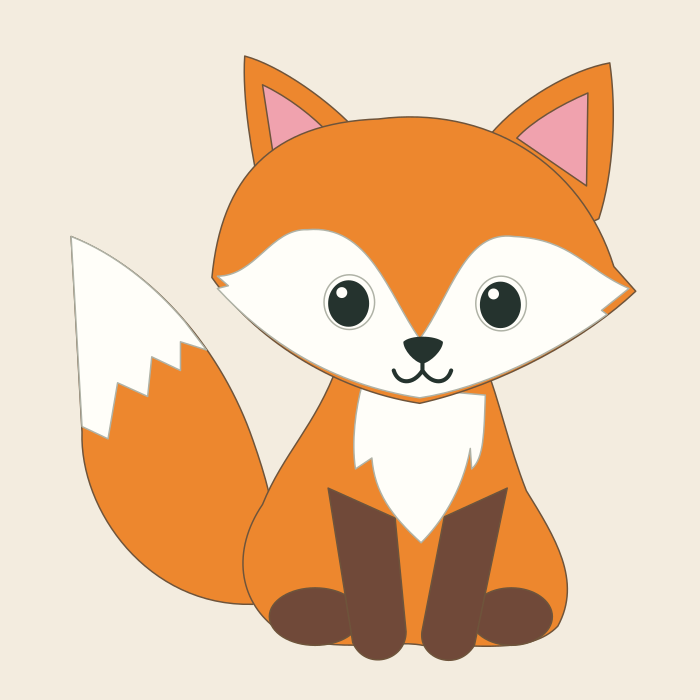
An orange fox, a fluffy white-tipped tail and a smile drawn by you. Cut coloured paper, layer the shapes and add the face.
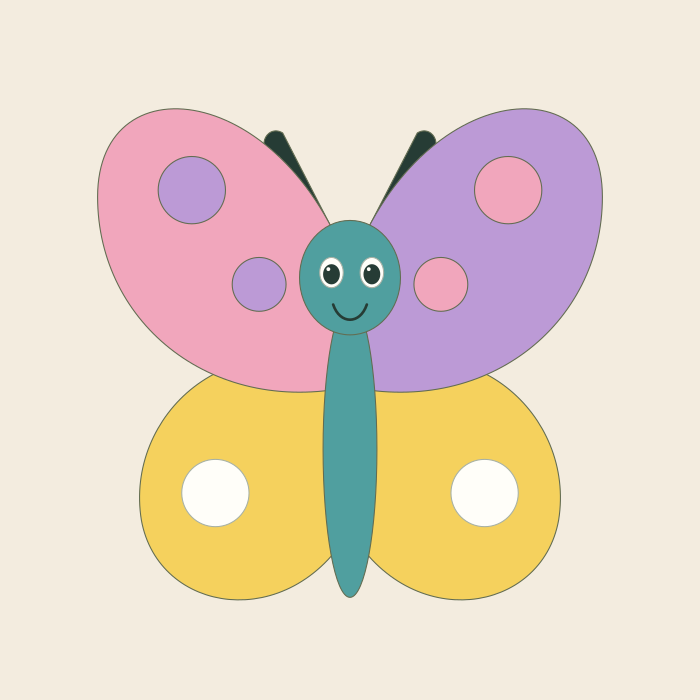
Mix pink, lilac and yellow wings. Add contrasting paper spots, then draw a tiny happy face.