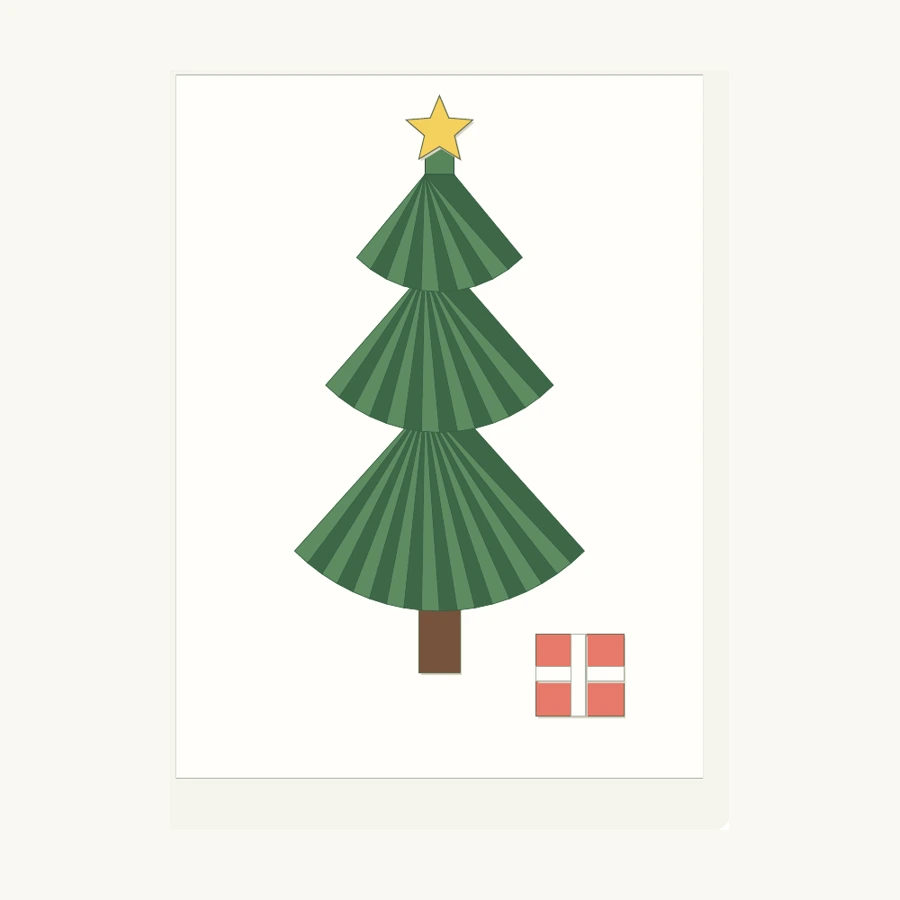
More challenging45 min / Ages 8+
Folded Paper Christmas Tree Craft
Make a raised paper Christmas tree from three green accordion fans. A 12-page English PDF with 15 colour steps, 1 cm fold guides and printable patterns.
English PDF · 12 pages$1.99
 Paper Craft GuidesPaper crafts, step by step.
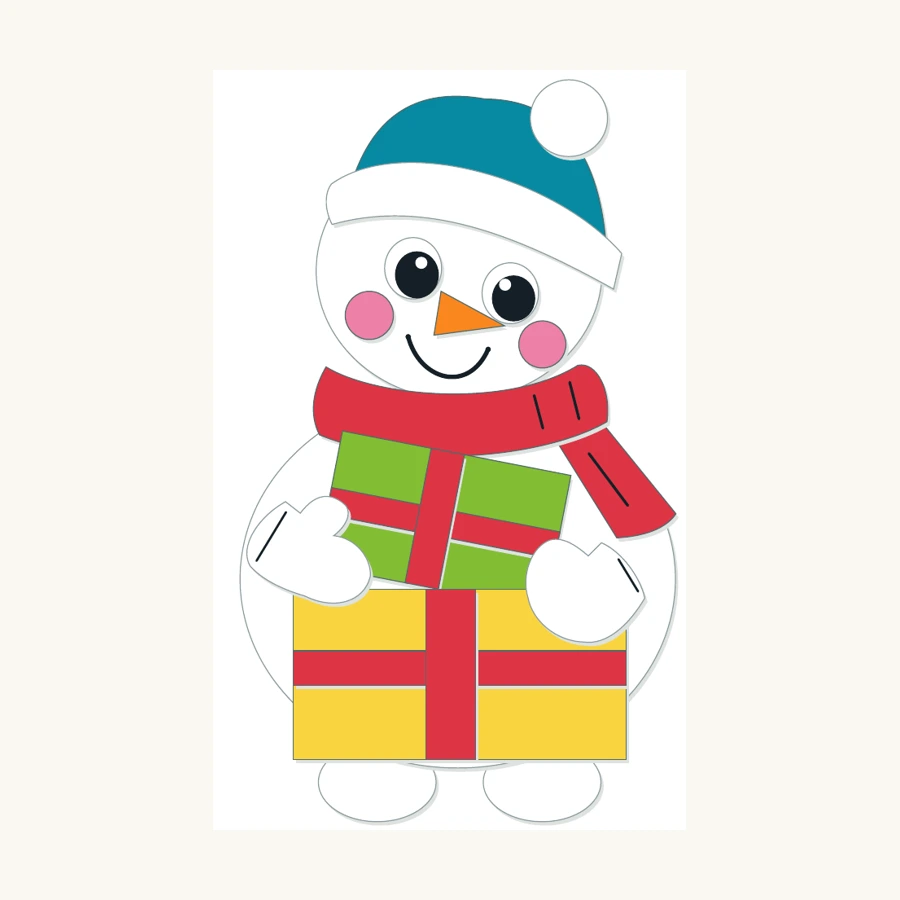
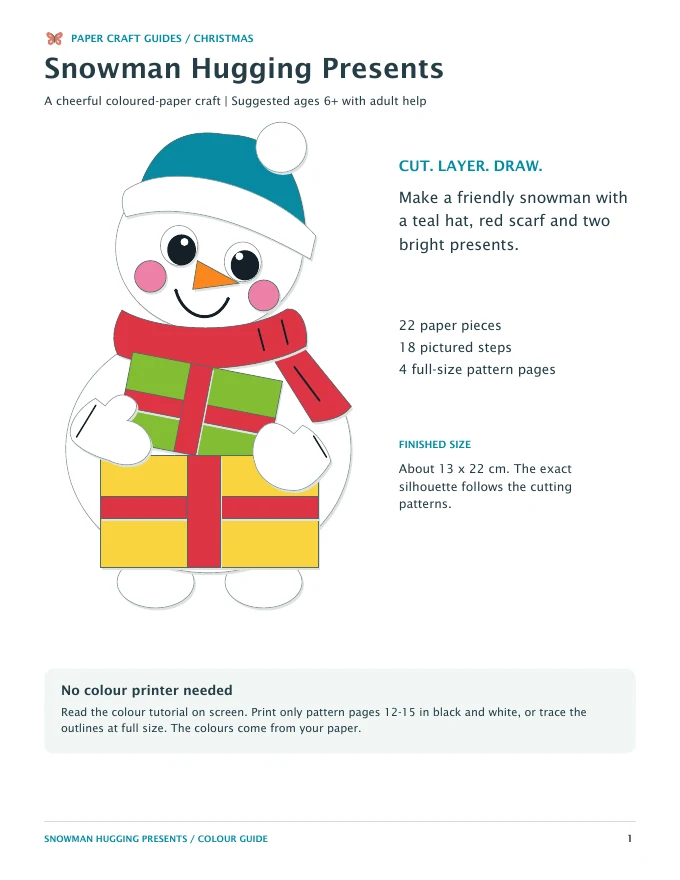
Make a layered paper snowman with a teal hat, red scarf and two presents. English PDF with 18 colour-illustrated steps and full-size cutting templates.
35 minutes · Ages 6+ with adult help · 15 pages · 18 steps
Cut, layer and draw a snowman hugging two paper presents. The finished craft is about 13 x 22 cm and uses 22 paper pieces. The English PDF names every paper colour and shows where to draw the black pupils, smile and small details. Suggested ages 6+ with adult help; allow about 35 minutes plus drying.
Preview shop. No payment is collected by this demonstration.
Cut, layer and draw a snowman hugging two paper presents. The finished craft is about 13 x 22 cm and uses 22 paper pieces. The English PDF names every paper colour and shows where to draw the black pupils, smile and small details. Suggested ages 6+ with adult help; allow about 35 minutes plus drying.
Explore Christmas paper craftsThese are the main making stages. The complete English PDF has 18 individually illustrated steps and the project patterns.
Use white card for the body, head, feet, hat brim, pompom, mittens and eye ovals. Prepare teal for the hat, red for the scarf and ribbons, green and yellow for the gifts, pink for cheeks and orange for the nose.
Print or trace the patterns at full size. Place the body over the feet so about 1.6 cm of each foot remains visible, then overlap the head onto the body by about 3 mm. Check the arrangement before gluing.
Add the teal cap, then its white brim and pompom. Place the red scarf tail before the collar so the collar hides the join. Leave the rounded lower scarf end free.
Put red cross ribbons on the green and yellow gifts, then their upright ribbons. Attach the green gift first and overlap it with the wider yellow gift. Place the white mittens over the gift edges with thumbs pointing inward.
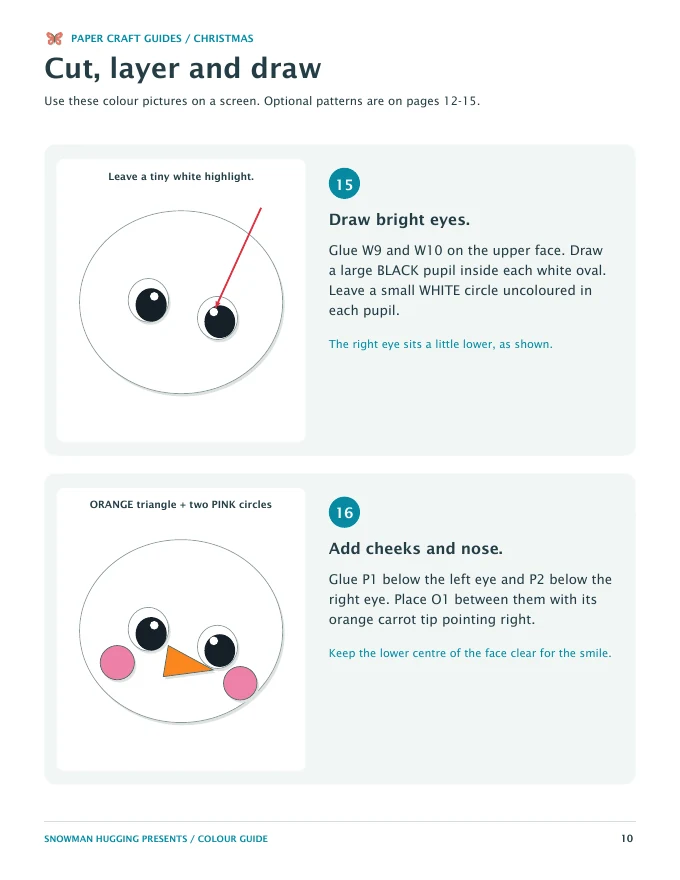
Draw black pupils inside the white eye ovals, leaving a tiny white highlight. Add pink cheeks and the orange nose pointing right. Practise a black U-shaped smile on scrap paper, then draw it below the nose. Let the glue dry before gently curling free tips.


No. Read the colour instructions on screen. Print pages 12-15 in black and white at Actual size / 100%, or trace the full-size outlines onto the named coloured paper.
It is a mostly flat layered-paper craft, about 13 x 22 cm. A few free mitten and scarf tips can be gently curled; the guide does not make a freestanding figure.
Use a black pen for the pupils, U-shaped smile, scarf lines and mitten cuffs. The pink cheeks and orange carrot nose are cut from coloured paper.
The suggested age is 6+ with adult help. A grown-up can prepare the smaller eye, cheek and ribbon pieces and assist with cutting.
A 15-page English PDF with preparation, 18 pictured steps and four full-size pattern pages. This is a digital instruction file; no paper pieces or finished snowman are shipped.
Written guide and illustrations: Paper Craft Guides. Updated 9 November 2026. Images are tutorial illustrations; review the sample pages when choosing a project.
Make a raised paper Christmas tree from three green accordion fans. A 12-page English PDF with 15 colour steps, 1 cm fold guides and printable patterns.
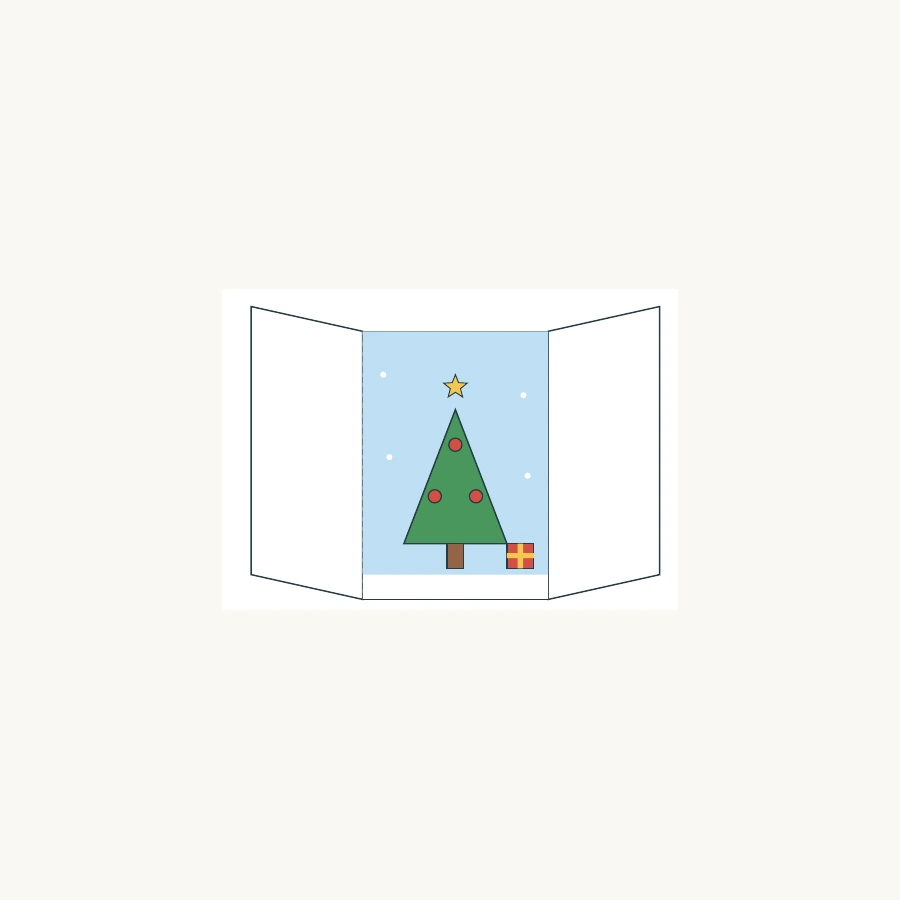
Draw a Christmas tree inside two opening paper shutters. A no-glue kids craft with a 6-page English PDF, 12 colour steps and an optional blank template.
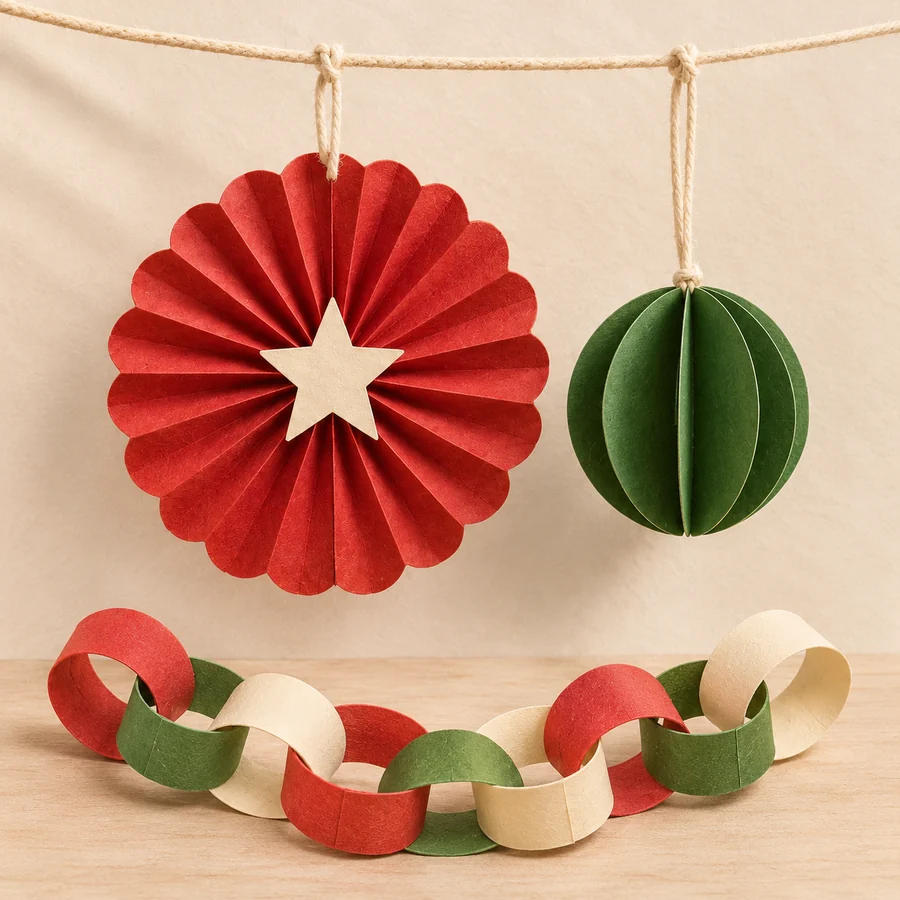
Make a red accordion rosette, green six-fin paper ball and interlocking Christmas chain. English PDF with 25 colour-illustrated actions and optional outline patterns.