Medium / English PDF

Origami Lucky Stars & Paper Star Gifts

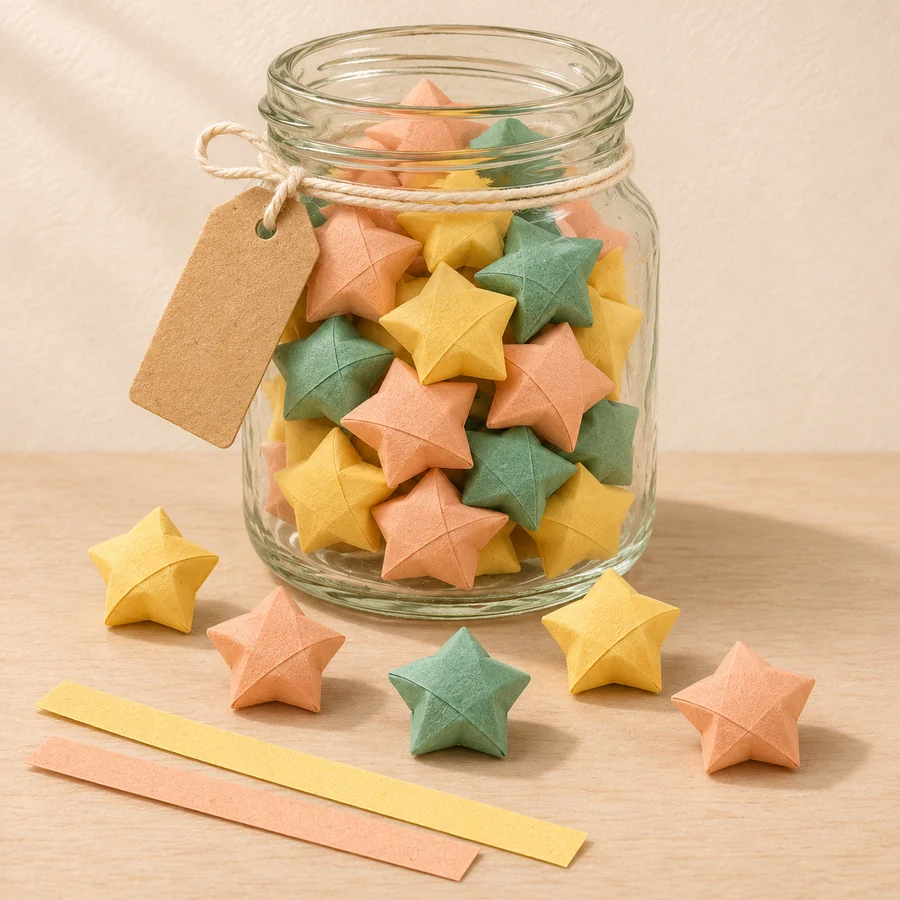
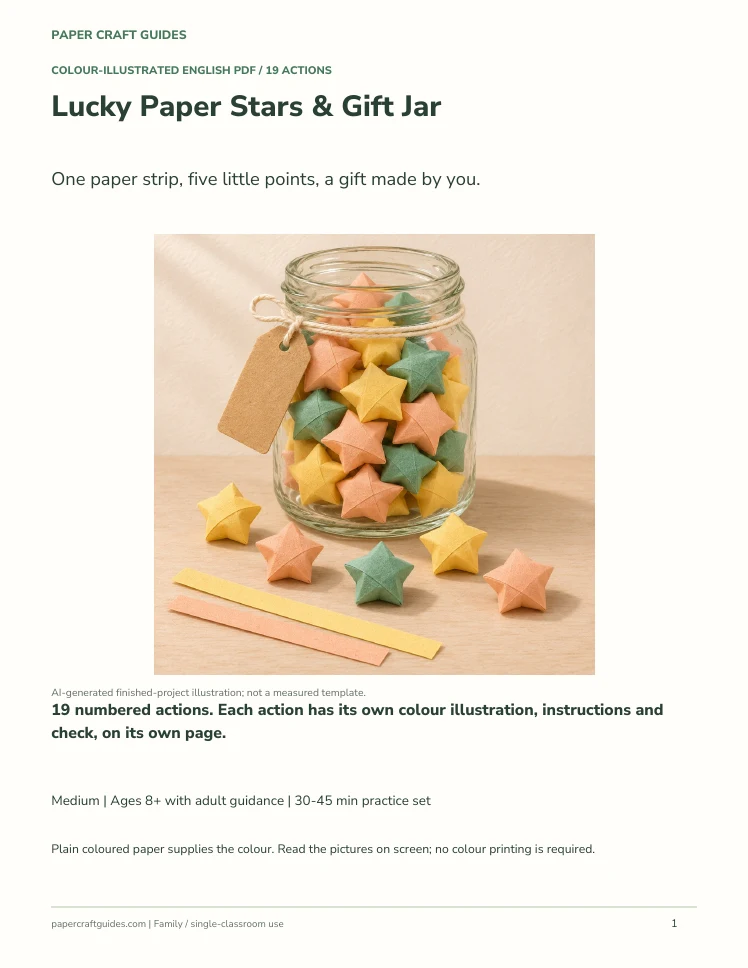
Fold puffy lucky stars from 1 x 28 cm paper strips. An English PDF with 19 colour-illustrated actions, five separate shaping pictures and a gift-jar finish.

45 minutes · Ages 8+ with adult help · 24 pages · 19 steps

Learn the traditional lucky-star method using thin solid-colour paper. The guide separates knotting, edge-following wraps, tucking and all five shaping actions. Add a dry jar and a handwritten tag for an optional gift finish. Allow 30-45 minutes to practise, plus extra time to make a jarful.

$1.59USD / one-time price
Preview checkout

Preview shop. No payment is collected by this demonstration.

Materials

  • Paper: Yellow, peach and muted teal paper, 70-80 gsm. Cut 1 x 28 cm strips. Start with one yellow practice strip. Prepare as many strips as you want stars.
  • Tools: Ruler, pencil and child-safe scissors. A flat table and dry hands. No glue or printer is needed to fold the stars.
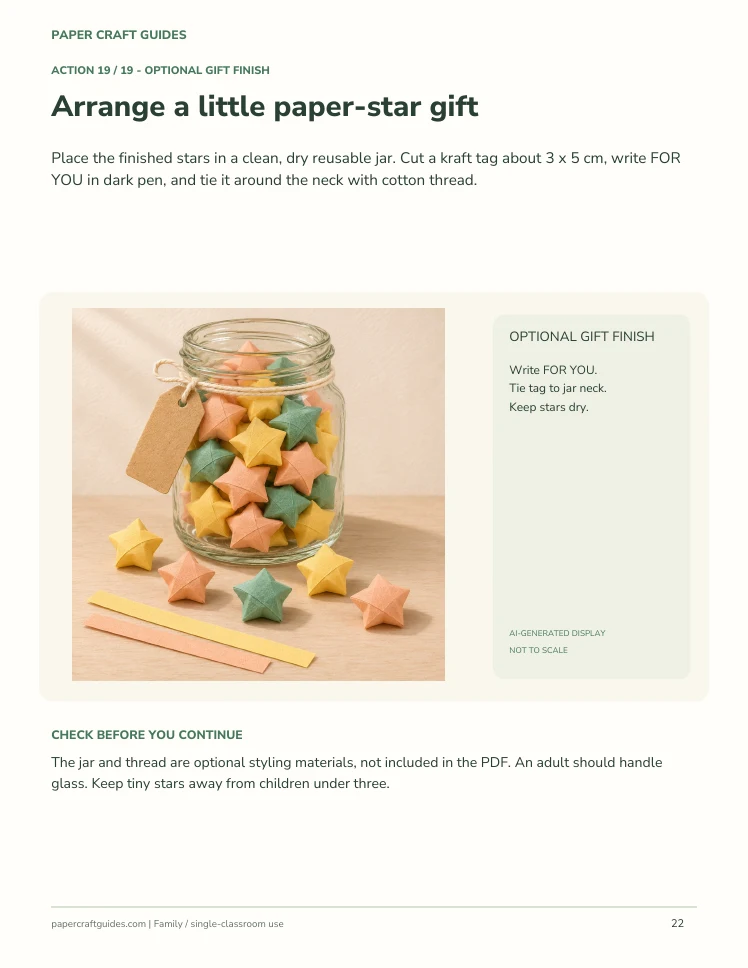
  • Optional gift styling: A clean, dry reusable jar; kraft paper for a 3 x 5 cm tag; dark pen; cotton thread. These are not included. Jar size and star count are your choice.
  • Plan your time: Suggested ages 8+ with adult guidance. Allow 30-45 minutes to learn and make a small practice set, plus additional time to fill a jar. These are estimates, not timed classroom trials.
  • Small pieces: An adult should handle glass and scissors. Tiny stars and thread are not suitable for children under three. Choose a paper container if glass is unsuitable.

Inside your PDF

  • 24-page English PDF
  • 19 numbered making actions; each on its own page with a colour diagram and check
  • Paper colours, measurements and preparation
  • Five separate edge-shaping pictures, troubleshooting and gift styling
  • Clear construction diagrams and AI-generated finished-project displays; established craft techniques
SOLID-COLOUR PAPER / ONE COLOUR PICTURE PER ACTION

From measured paper to a finished gift

Learn the traditional lucky-star method using thin solid-colour paper. The guide separates knotting, edge-following wraps, tucking and all five shaping actions. Add a dry jar and a handwritten tag for an optional gift finish. Allow 30-45 minutes to practise, plus extra time to make a jarful.

Making method
Fold and shape one paper strip; optional gift tag
Starting paper
1 x 28 cm strips; 70-80 gsm
Finished size
Varies with knot and shaping; no fixed jar-filling count
Printing
No printing needed
Guide
24 pages; 19 pictured actions; English

Materials to prepare

  • Paper: Yellow, peach and muted teal paper, 70-80 gsm. Cut 1 x 28 cm strips. Start with one yellow practice strip. Prepare as many strips as you want stars.
  • Tools: Ruler, pencil and child-safe scissors. A flat table and dry hands. No glue or printer is needed to fold the stars.
  • Optional gift styling: A clean, dry reusable jar; kraft paper for a 3 x 5 cm tag; dark pen; cotton thread. These are not included. Jar size and star count are your choice.
  • Plan your time: Suggested ages 8+ with adult guidance. Allow 30-45 minutes to learn and make a small practice set, plus additional time to fill a jar. These are estimates, not timed classroom trials.
  • Small pieces: An adult should handle glass and scissors. Tiny stars and thread are not suitable for children under three. Choose a paper container if glass is unsuitable.

Details to watch

  • Keep the strip an even width; do not begin with card.
  • Press edge midpoints, not the broad faces or star points.
  • The number of wrapping folds varies; follow the paper edges rather than counting wraps.

Drawings are schematic. Measurements and sequence have been checked digitally; a physical making trial has not been performed. Make one sample before preparing a group activity.

How the project comes together

  1. Cut an even strip

    Start with a 1 x 28 cm strip of thin paper. Practise with yellow, then use peach and muted teal for a coordinated gift.

  2. Make and wrap a pentagon

    Tie one loose overhand knot, flatten it into five sides, hide the short end and wrap the long end along the natural edges.

  3. Indent each of five edges

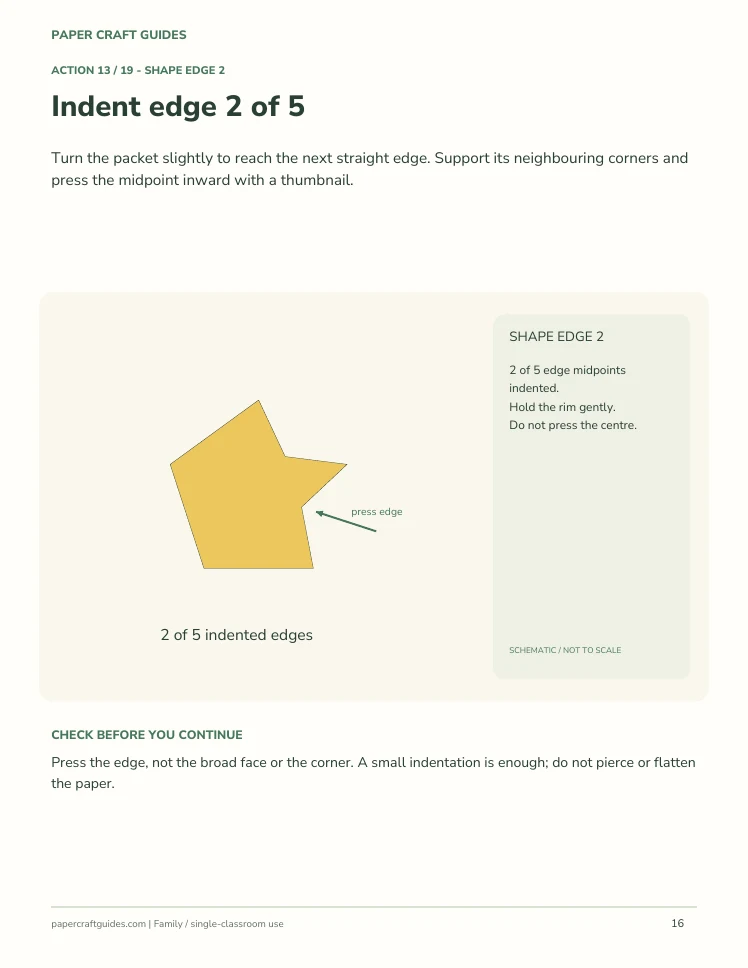
    Support the rim and press the middle of each straight edge inward. Five separate pictures show the five shaping actions.

  4. Make a gift

    Repeat the paper colours, arrange the stars in a dry jar and write a personal kraft tag.

Look inside the illustrated guide

The complete 24-page English PDF has 19 numbered actions. Each action has its own page, colour illustration and check.

Lucky Paper Stars & Gift Jar action 3: Pass A through the loop
Action 3 / 19 — Pass A through the loop
Lucky Paper Stars & Gift Jar action 6: Wrap B over the nearest edge
Action 6 / 19 — Wrap B over the nearest edge
Lucky Paper Stars & Gift Jar action 12: Indent edge 1 of 5
Action 12 / 19 — Indent edge 1 of 5
View the 19-action sequence
  1. Cut one straight paper strip
  2. Make a loose loop near one end
  3. Pass A through the loop
  4. Ease the knot into a pentagon
  5. Hide the short end
  6. Wrap B over the nearest edge
  7. Turn over and wrap the next face
  8. Continue around the pentagon
  9. Leave a short finishing tab
  10. Lock the final tab
  11. Check the five-sided packet
  12. Indent edge 1 of 5
  13. Indent edge 2 of 5
  14. Indent edge 3 of 5
  15. Indent edge 4 of 5
  16. Indent edge 5 of 5
  17. Balance the five points
  18. Repeat your three paper colours
  19. Arrange a little paper-star gift

Inside the English PDF

  • 24-page English PDF
  • 19 numbered making actions; each on its own page with a colour diagram and check
  • Paper colours, measurements and preparation
  • Five separate edge-shaping pictures, troubleshooting and gift styling
  • Clear construction diagrams and AI-generated finished-project displays; established craft techniques
Lucky Paper Stars & Gift Jar PDF sample 1Lucky Paper Stars & Gift Jar PDF sample 2Lucky Paper Stars & Gift Jar PDF sample 3

Questions before you start

Do I need a colour printer?

No. Read the colour illustrations on screen and make the craft from solid-colour paper. The stars need no printed template.

What paper sizes do I need?

Use even 1 x 28 cm strips of 70-80 gsm paper. The final star size varies with the knot and shaping.

Is every making action pictured?

Yes. The 24-page English PDF has 19 numbered actions, each with its own colour illustration and check on a separate page.

Has the craft been tested physically?

The preparation measurements, diagram sequence and PDF pages have been checked digitally. A physical making trial has not been performed. Test one sample before preparing a group activity.

Is a physical kit included?

No. This is an English digital PDF guide. Paper, glue, thread, jars and finished crafts are not included.

Is this an original folding invention?

The making techniques are traditional or established. The written instructions and schematic colour illustrations were newly produced for Paper Craft Guides.

Text and schematic illustrations: Paper Craft Guides. Established craft techniques. The cover is an AI-generated illustration; step diagrams and PDF samples show the construction. Updated 10 November 2026.