More challenging / English PDF

Fold a Paper Crane

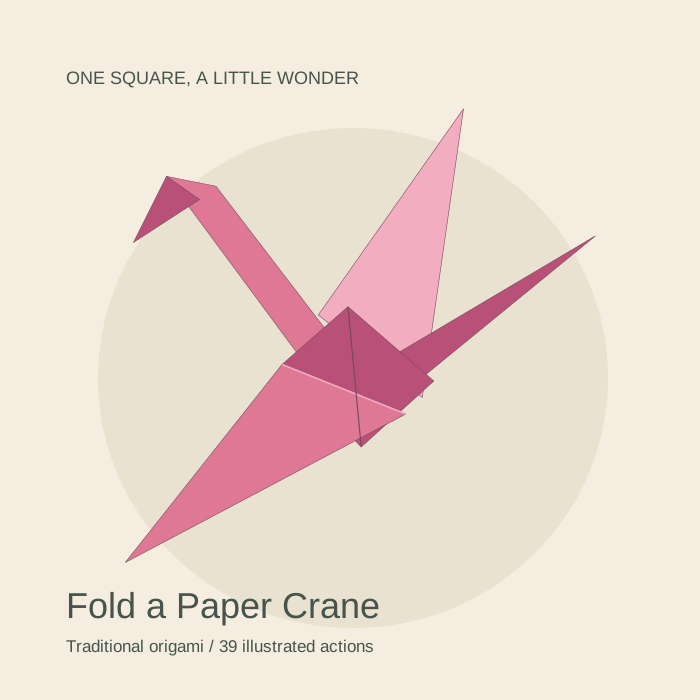
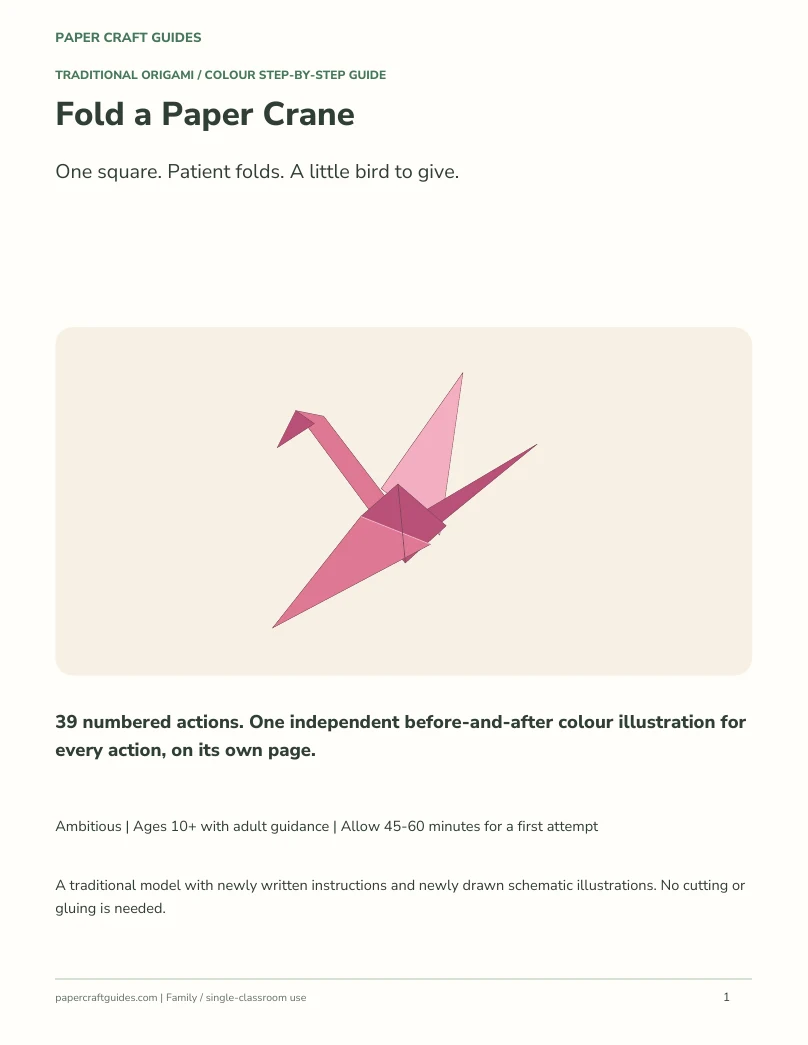
Turn one solid-colour square into a traditional origami crane. Follow 39 separate colour-illustrated actions, including petal folds and inside reverse folds.

60 minutes · Ages 10+ with adult help · 43 pages · 39 steps

A traditional crane made from one square of plain paper. Start with 20 x 20 cm thin, double-sided same-colour paper. The guide separates folds, openings and turns into 39 numbered actions, with one independent colour diagram per action. Allow 45-60 minutes for a first attempt; adult guidance is recommended for ages 10+.

$1.99USD / one-time price
Preview checkout

Preview shop. No payment is collected by this demonstration.

Materials

  • One 20 x 20 cm square of thin pink origami paper, same colour on both faces
  • 60-80 gsm paper recommended; 15 x 15 cm is optional after practice
  • A flat, dry table and optional ruler to check the square
  • No glue, cutting or colour printing needed during folding

Inside your PDF

  • 43-page English PDF
  • 39 numbered actions, each on its own page with a colour before-and-after illustration
  • Paper preparation, diagram key and layer/orientation checks
  • Petal folds and inside reverse folds broken into separate actions
  • Troubleshooting and paper-size guidance
TRADITIONAL ORIGAMI / ONE SOLID-COLOUR SQUARE

A paper crane, one clear action at a time

A traditional crane made from one square of plain paper. Start with 20 x 20 cm thin, double-sided same-colour paper. The guide separates folds, openings and turns into 39 numbered actions, with one independent colour diagram per action. Allow 45-60 minutes for a first attempt; adult guidance is recommended for ages 10+.

Before you fold

  • One 20 x 20 cm square of thin pink origami paper, same colour on both faces
  • 60-80 gsm paper recommended; 15 x 15 cm is optional after practice
  • A flat, dry table and optional ruler to check the square
  • No glue, cutting or colour printing needed during folding

Inside the English PDF

  • 43-page English PDF
  • 39 numbered actions, each on its own page with a colour before-and-after illustration
  • Paper preparation, diagram key and layer/orientation checks
  • Petal folds and inside reverse folds broken into separate actions
  • Troubleshooting and paper-size guidance

Pink shades distinguish layers and shadows. Use one sheet with the same colour on both faces. Drawings are schematic, not full-size templates.

A look at the folding diagrams

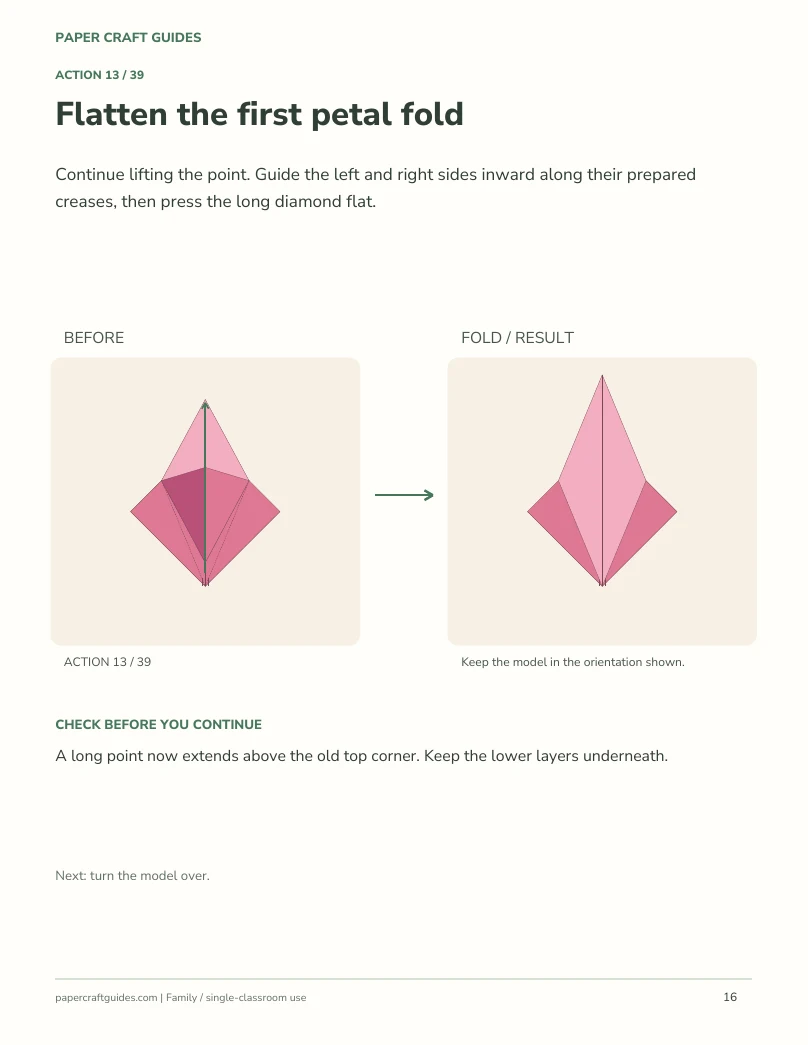
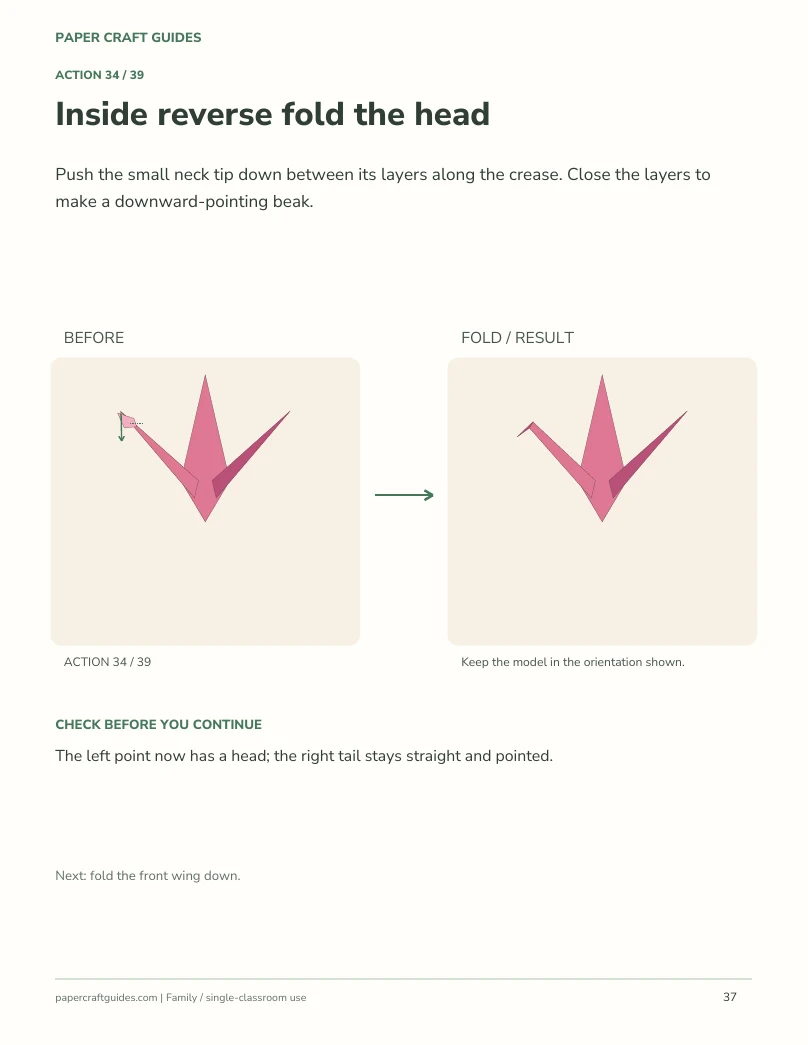
Each numbered action in the complete PDF has its own page, its own colour before-and-after picture and a check before you continue.

Origami crane action 1: The first diagonal crease
Action 1 / 39 — The first diagonal crease
Origami crane action 13: Flatten the first petal fold
Action 13 / 39 — Flatten the first petal fold
Origami crane action 34: Inside reverse fold the head
Action 34 / 39 — Inside reverse fold the head
View the 39-action sequence
  1. Make the first diagonal crease
  2. Make the other diagonal crease
  3. Turn the sheet over
  4. Make the horizontal crease
  5. Make the vertical crease
  6. Position the sheet as a diamond
  7. Collapse the square base
  8. Fold the front lower-left edge inward
  9. Fold the front lower-right edge inward
  10. Crease the small top triangle down
  11. Reopen the three front folds
  12. Lift the front bottom point
  13. Flatten the first petal fold
  14. Turn the model over
  15. Fold the new lower-left edge inward
  16. Fold the new lower-right edge inward
  17. Reinforce the top hinge
  18. Reopen the three folds on this face
  19. Lift the new front bottom point
  20. Flatten the second petal fold
  21. Narrow the front lower-left edge
  22. Narrow the front lower-right edge
  23. Turn the narrowed face to the back
  24. Narrow the new lower-left edge
  25. Narrow the new lower-right edge
  26. Pre-crease the left point upward
  27. Open the left point for the reverse fold
  28. Inside reverse fold the neck upward
  29. Pre-crease the right point upward
  30. Open the right point for the reverse fold
  31. Inside reverse fold the tail upward
  32. Pre-crease a small beak
  33. Open the neck tip slightly
  34. Inside reverse fold the head
  35. Fold the front wing down
  36. Turn over to reach the second wing
  37. Fold the second wing down
  38. Return to the head-left view
  39. Open the wings and shape the crane

Before you make it

Do I need a colour printer?

No. Follow the colour illustrations on screen and fold a plain square of coloured paper. The PDF is an instruction guide, not a printed-colour craft template.

Which paper size should I use?

Start with a true 20 x 20 cm square of thin paper. A 15 x 15 cm square also works, but the small folds need more care. Do not start with an untrimmed A4 or US Letter rectangle.

Is this suitable for a first origami project?

It is an ambitious project. Younger children and complete beginners will likely need adult help with the petal folds and inside reverse folds.

Is every numbered action illustrated?

Yes. Each of the 39 actions has its own newly drawn colour before-and-after picture and its own PDF page. Pre-creasing, reopening and turning are explicitly labelled.

Is the crane model an original invention?

The crane is a traditional origami model. These written instructions and schematic illustrations were newly produced for Paper Craft Guides.