Medium35 min / Ages 6+
Snowman Paper Craft for Kids
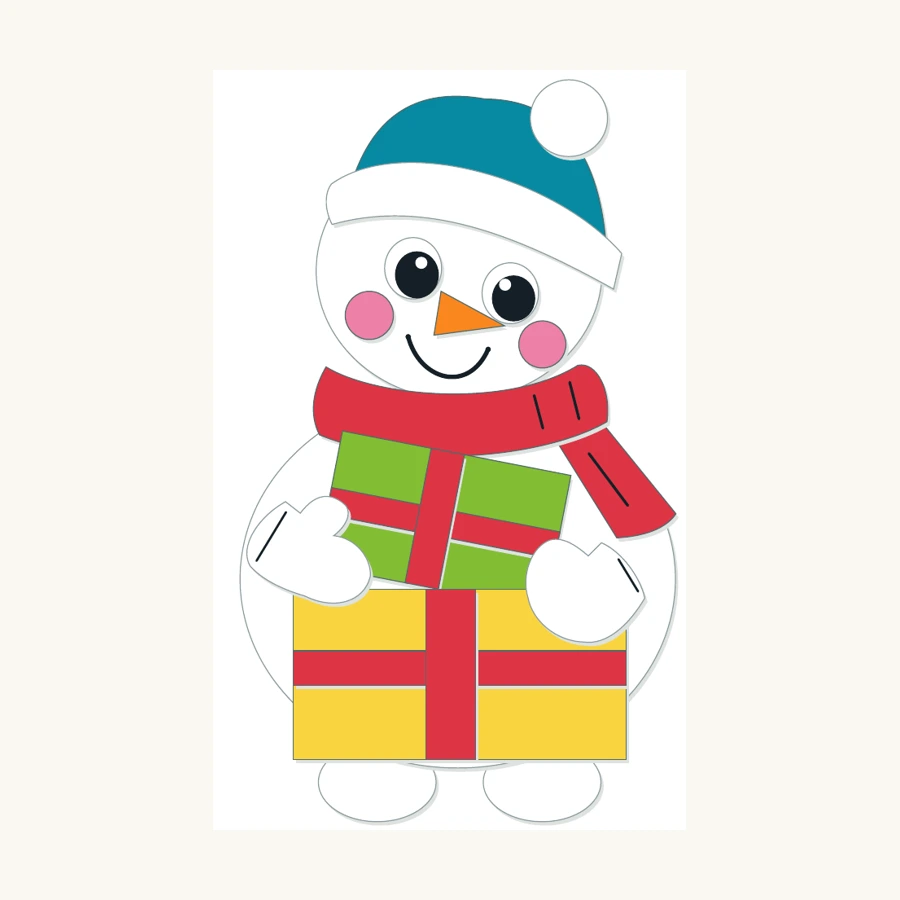
Make a layered paper snowman with a teal hat, red scarf and two presents. English PDF with 18 colour-illustrated steps and full-size cutting templates.
English PDF · 15 pages$1.59
 Paper Craft GuidesPaper crafts, step by step.
Draw a Christmas tree inside two opening paper shutters. A no-glue kids craft with a 6-page English PDF, 12 colour steps and an optional blank template.
25 minutes · Ages 6+ with adult help · 6 pages · 12 steps
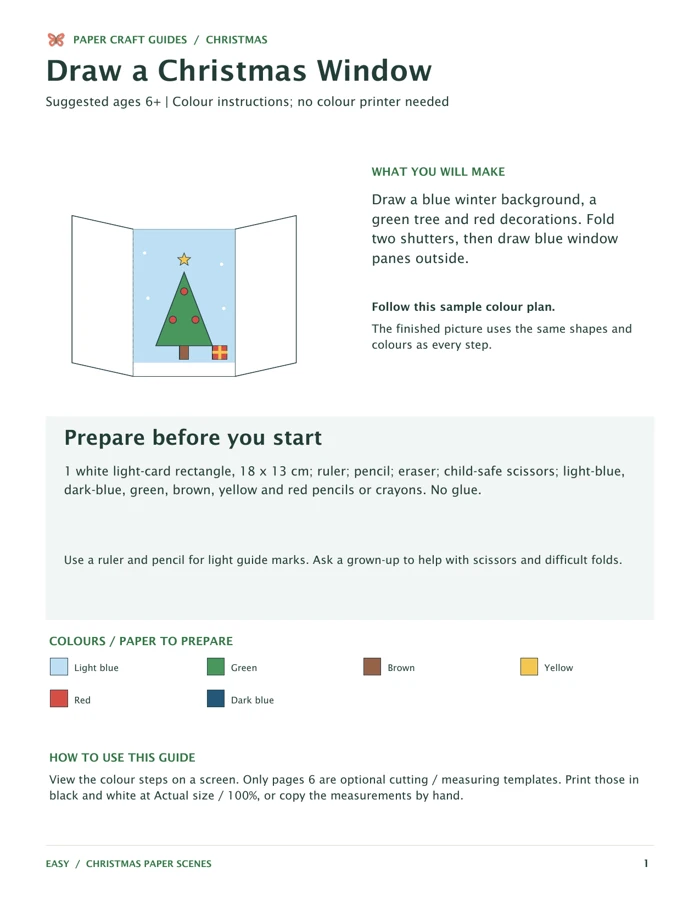
Draw your own Christmas scene on white card, then fold two shutters that open to reveal it. Start with an 18 x 13 cm rectangle and use light blue, dark blue, green, brown, yellow and red pencils or crayons. The artwork is drawn by you; the optional template contains only the blank outline and fold lines. Suggested ages 6+ with adult help; allow about 25 minutes. No glue or colour printer is needed.
Preview shop. No payment is collected by this demonstration.
Draw your own Christmas scene on white card, then fold two shutters that open to reveal it. Start with an 18 x 13 cm rectangle and use light blue, dark blue, green, brown, yellow and red pencils or crayons. The artwork is drawn by you; the optional template contains only the blank outline and fold lines. Suggested ages 6+ with adult help; allow about 25 minutes. No glue or colour printer is needed.
Explore Christmas paper craftsThese are the main making stages. The complete English PDF has 12 individually illustrated steps and the project patterns.
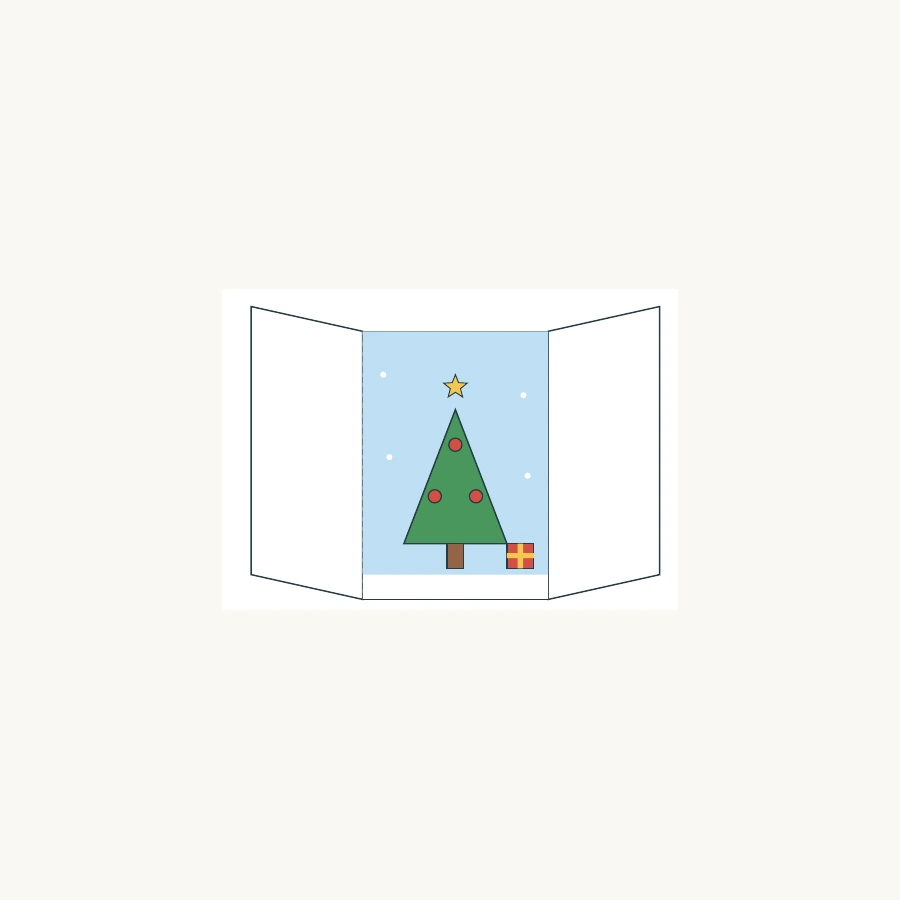
Cut white card 18 cm wide x 13 cm tall. Mark fold lines at 4.5 cm and 13.5 cm from the left edge. Fold the left flap inward, then the right, so their edges meet in the middle. Reopen flat.
In the 9 cm-wide middle panel, mark a ground line 1.2 cm above the bottom. Add four small snow circles. Colour the sky light blue while leaving the ground and snow circles white.
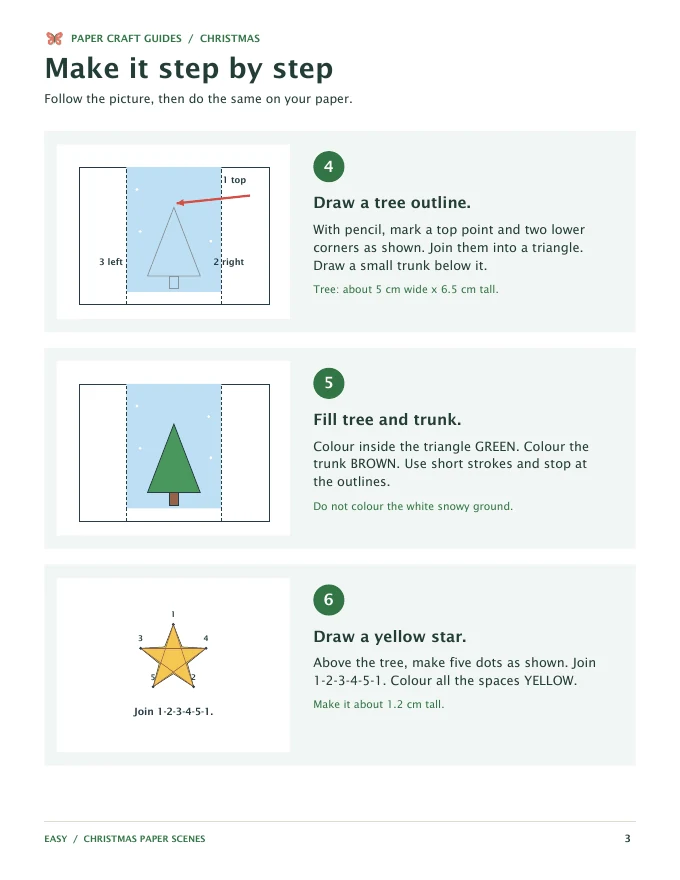
Draw a triangle about 5 cm wide x 6.5 cm tall with a small trunk below. Colour the triangle green and the trunk brown. Add a yellow star, three red circle decorations and a red gift with yellow ribbon lines.
Close the shutters. Draw a tall rectangle on each outside flap, keeping about 6 mm clear at the side edges. Colour the panes light blue, leaving a 9 mm white snow strip below and three tiny white dots on each.
Use dark blue for a vertical and horizontal window bar on each flap. Keep the vertical bars above the white snow strip. Add yellow handles near the opening edges, then open both shutters to reveal the tree.


No. You draw the tree, sky, snow, decorations and window panes yourself. The optional template supplies a blank outline and fold lines only.
Yes. Measure an 18 x 13 cm rectangle and mark the folds at 4.5 cm and 13.5 cm from the left edge. Follow the colour instructions on screen.
No. It is made from one piece of white light card using drawing, colouring and two shutter folds.
Light blue for sky and panes, dark blue for window bars, green for the tree, brown for the trunk, yellow for the star and handles, and red for decorations and the gift. Leave snow white.
Suggested ages 6+ with adult help. Adults can prepare the rectangles in advance. The family / single-classroom licence permits use with your own class; it does not permit sharing or reselling the digital file.
Written guide and illustrations: Paper Craft Guides. Updated 9 November 2026. Images are tutorial illustrations; review the sample pages when choosing a project.
Make a layered paper snowman with a teal hat, red scarf and two presents. English PDF with 18 colour-illustrated steps and full-size cutting templates.
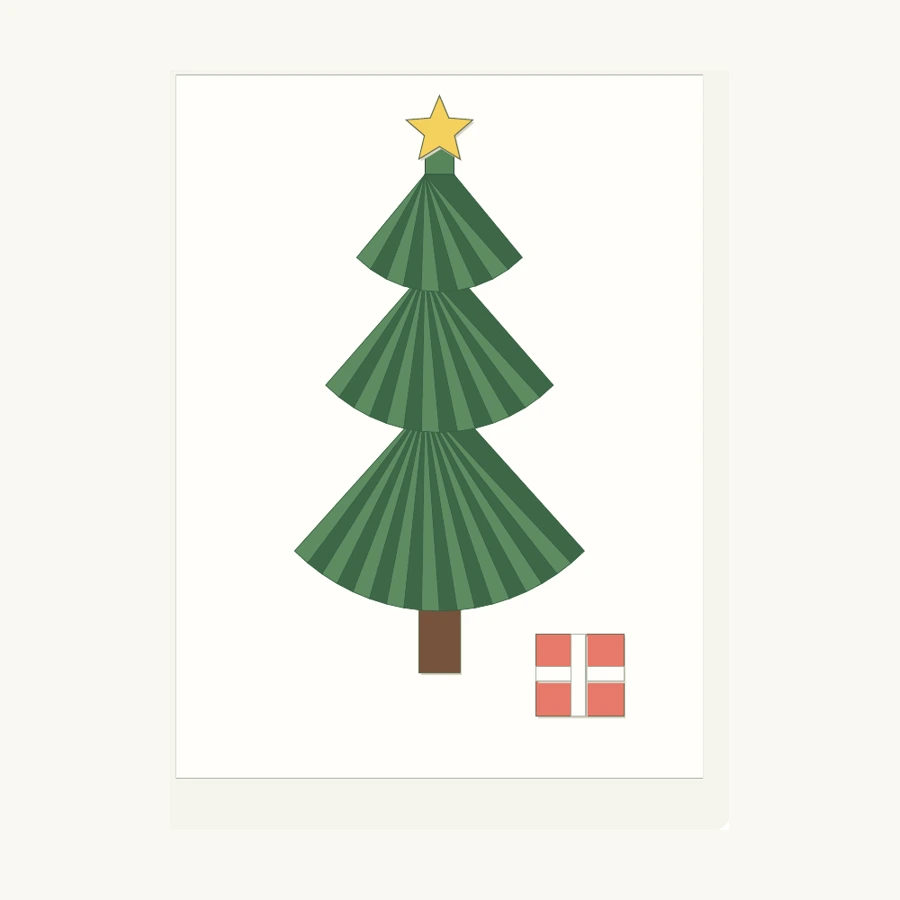
Make a raised paper Christmas tree from three green accordion fans. A 12-page English PDF with 15 colour steps, 1 cm fold guides and printable patterns.
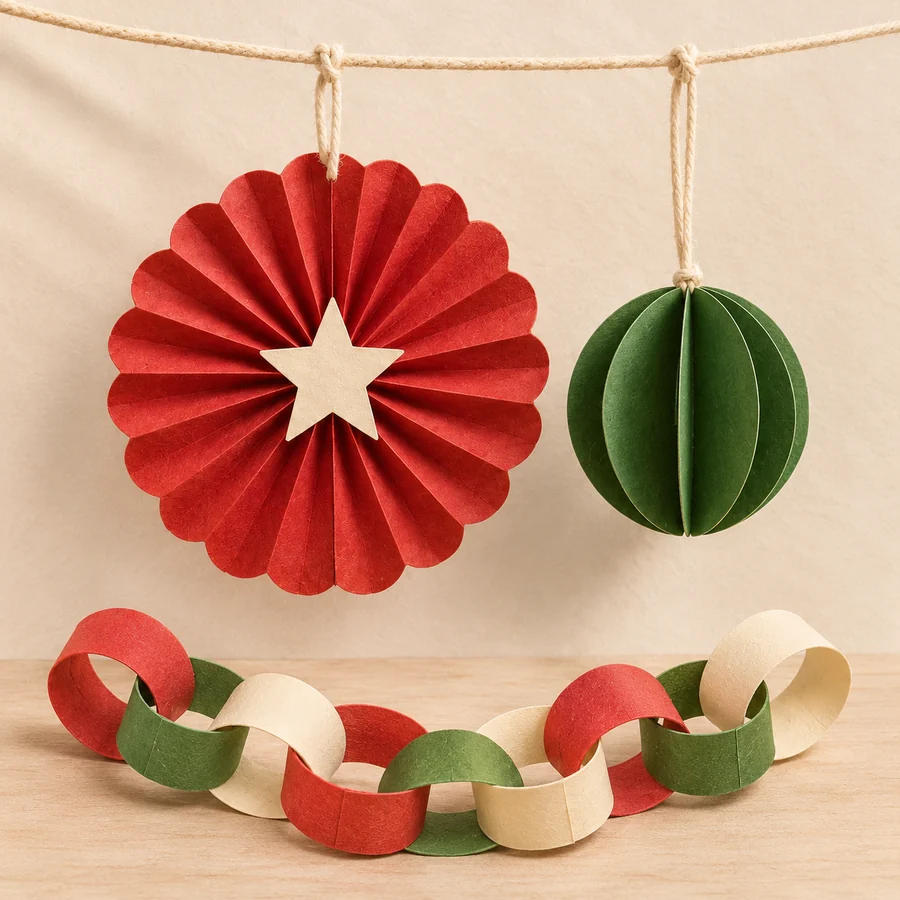
Make a red accordion rosette, green six-fin paper ball and interlocking Christmas chain. English PDF with 25 colour-illustrated actions and optional outline patterns.