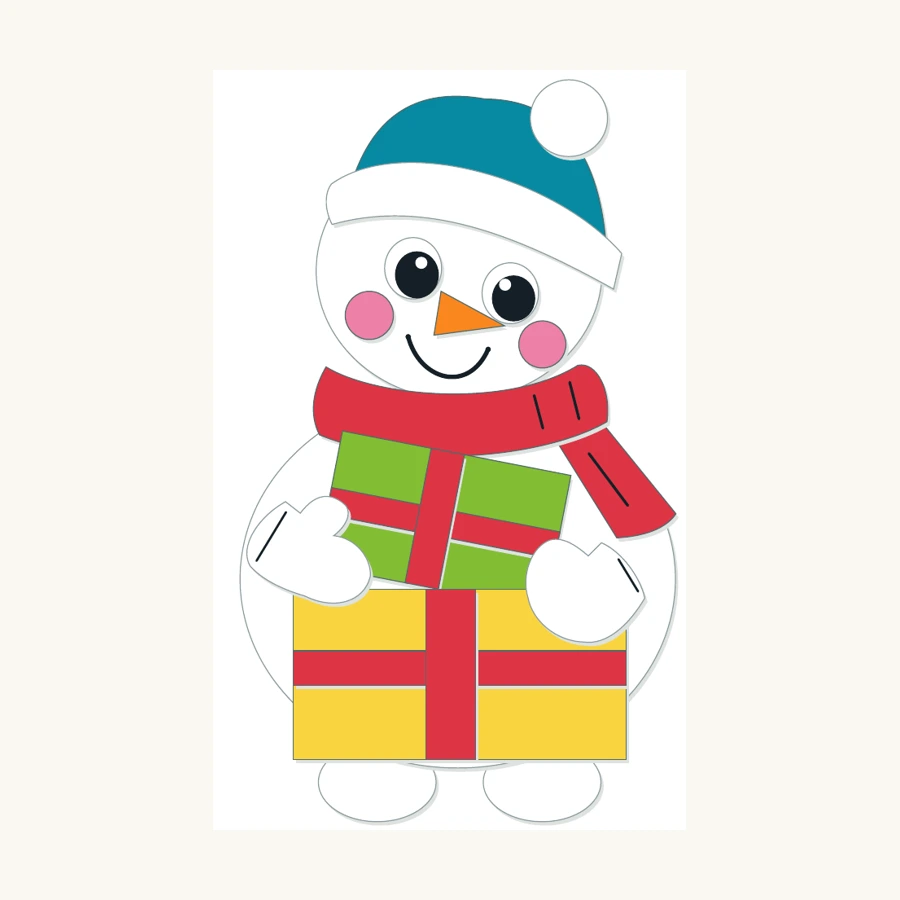
Medium35 min / Ages 6+
Snowman Paper Craft for Kids
Make a layered paper snowman with a teal hat, red scarf and two presents. English PDF with 18 colour-illustrated steps and full-size cutting templates.
English PDF · 15 pages$1.59
 Paper Craft GuidesPaper crafts, step by step.
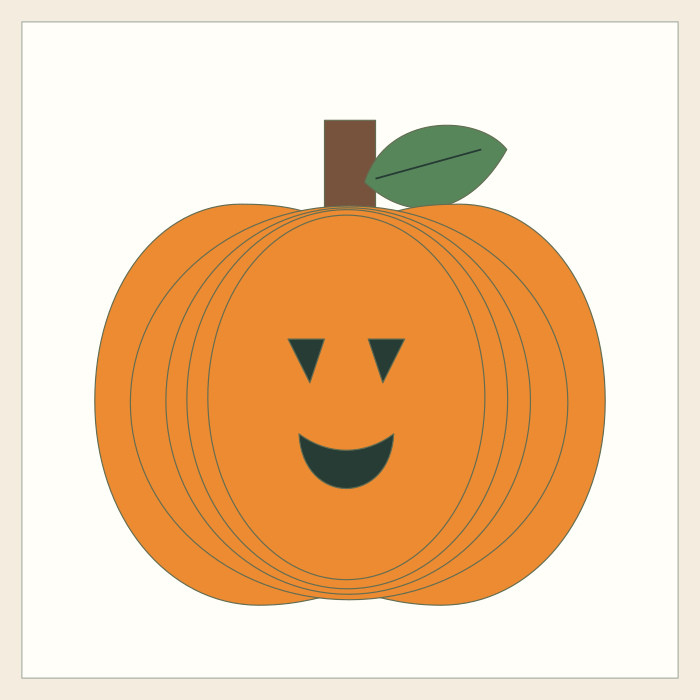
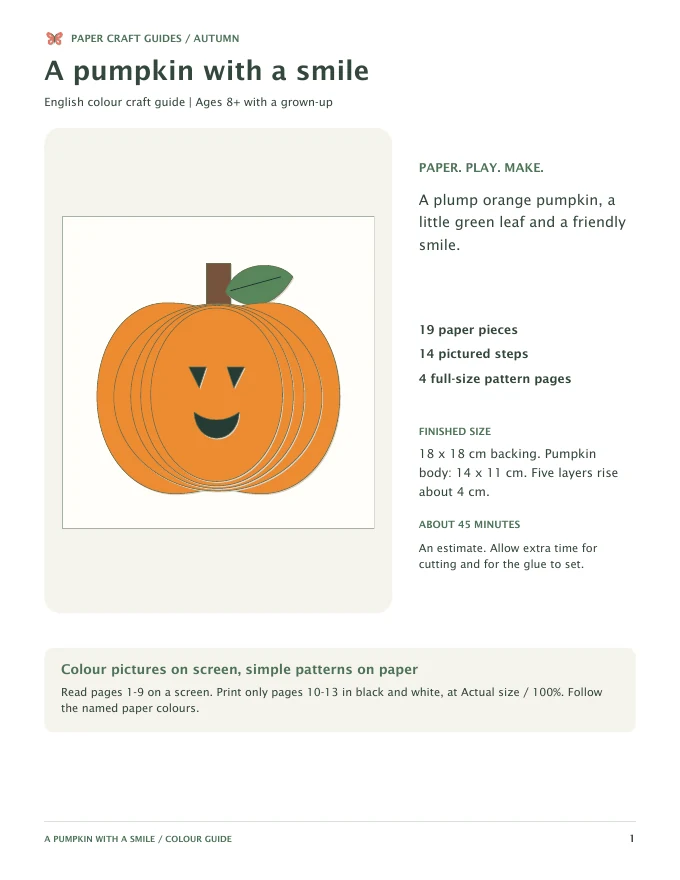
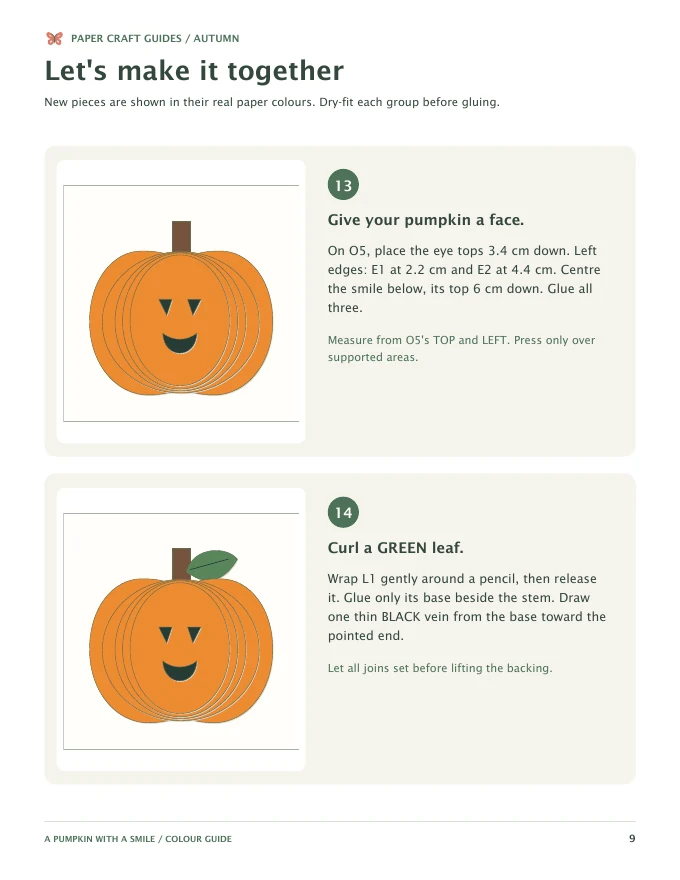
Make a plump orange pumpkin with rounded shoulders, a broad smiling centre and raised paper lobes on a square backing.
45 minutes · Ages 8+ with adult help · 13 pages · 14 steps
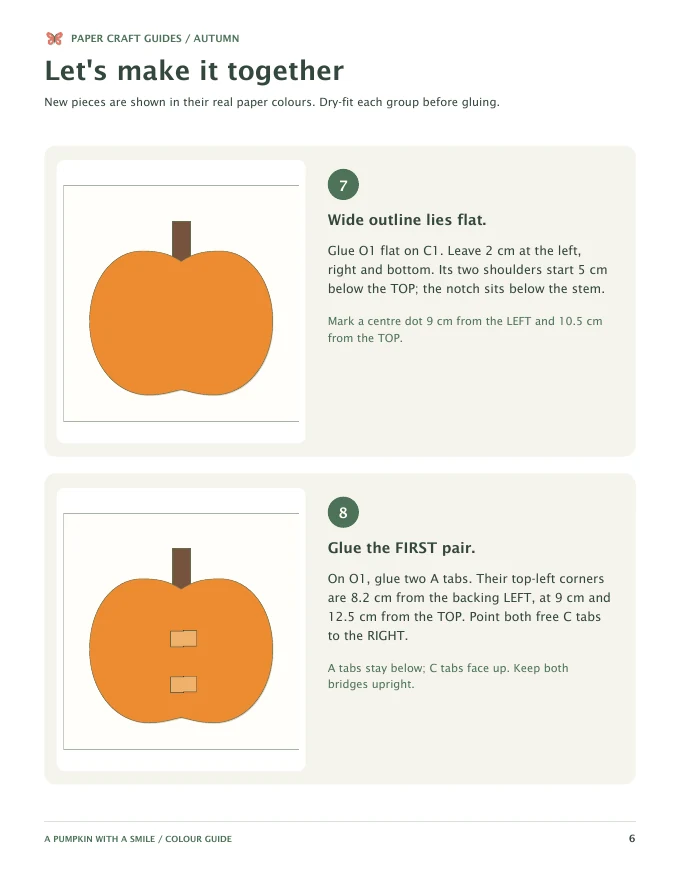
An 18 x 18 cm backed relief with a 14 x 11 cm pumpkin body, a shallow top notch and five orange layers. The front lobe is 7.6 x 10 cm, with room for the black paper eyes and smile. Eight Z spacers form four 1 cm gaps, about 4 cm of depth. The 14 colour steps give centre alignment, individual tab coordinates and face placement. Suggested ages 8+ with adult help; allow about 45 minutes plus drying.
Preview shop. No payment is collected by this demonstration.
Make a layered paper snowman with a teal hat, red scarf and two presents. English PDF with 18 colour-illustrated steps and full-size cutting templates.
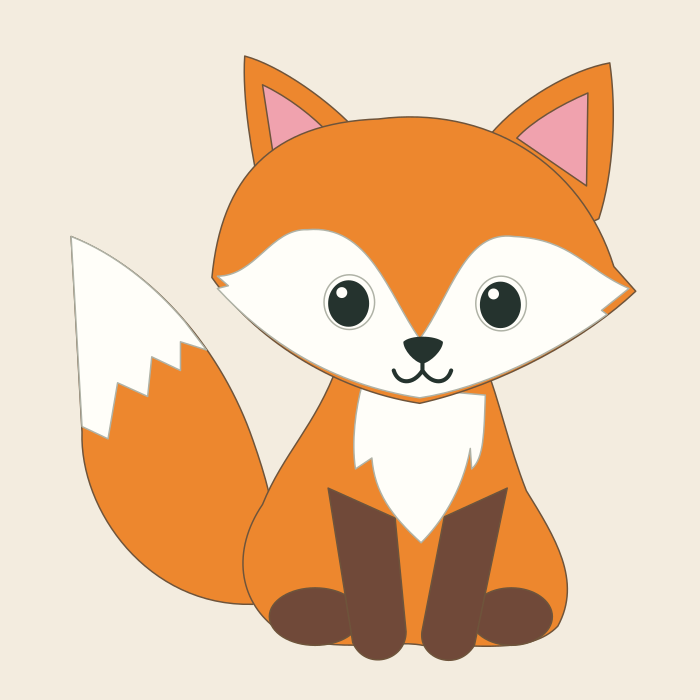
An orange fox, a fluffy white-tipped tail and a smile drawn by you. Cut coloured paper, layer the shapes and add the face.
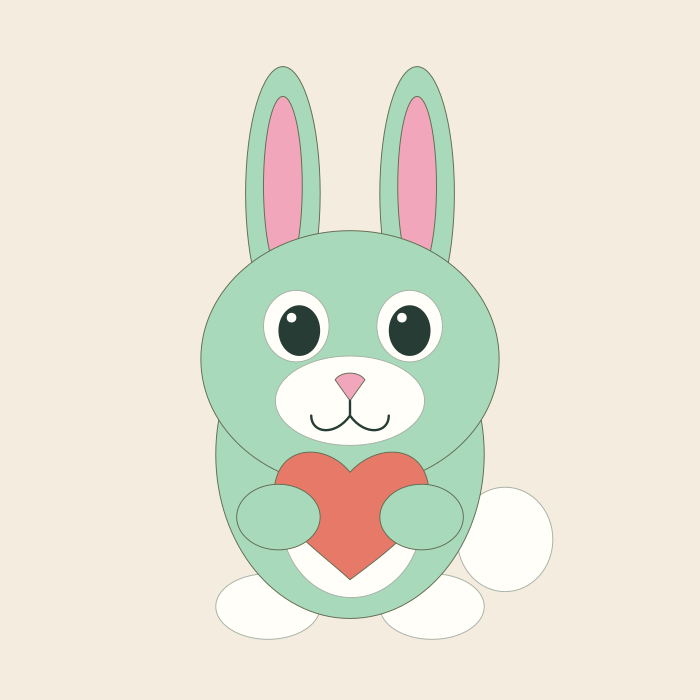
Mint ears, a coral heart and a smile drawn by you. Layer the paws so your bunny holds its heart.